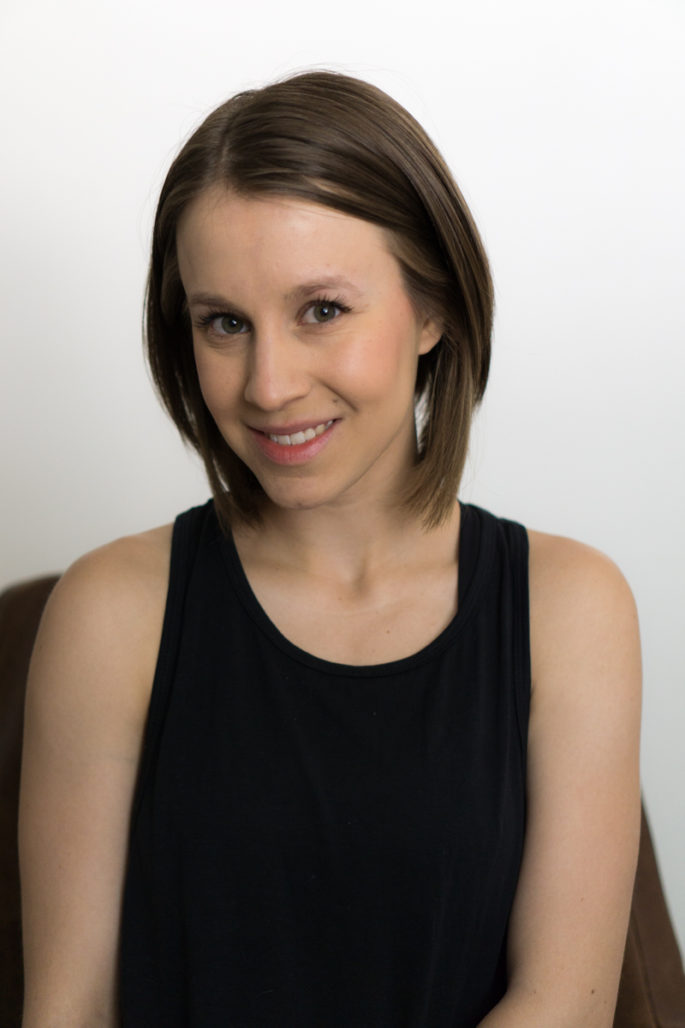
Taking a little detour with today’s post to do a quick rundown of my beauty routine. If I’m wearing makeup in blog photos, this is the look I’m wearing. I’ll be the first to admit I’m no makeup guru and I’m sure I break all manner of “rules”, but this relatively minimal, low maintenance strategy works wonderfully for me.
When I got married this past October, I decided to do my own wedding makeup. Although my wedding look was pretty natural rather than dramatic (you can see photos in this post), I spent a ton of time experimenting with different techniques, products, and shades to get the right look. A lot of the products I discovered through that process are included here.
In general, I have a “less is more” approach to makeup. Rather than piling on 15 different products in hopes that each one adds up to make a tiny difference, I look for the products that will give me the most bang for my buck. As a result, my daily makeup routine only includes 4 products and 2 brushes! Plus, it only takes me 3-5 minutes to apply.
P.S. Related: my skincare favorites
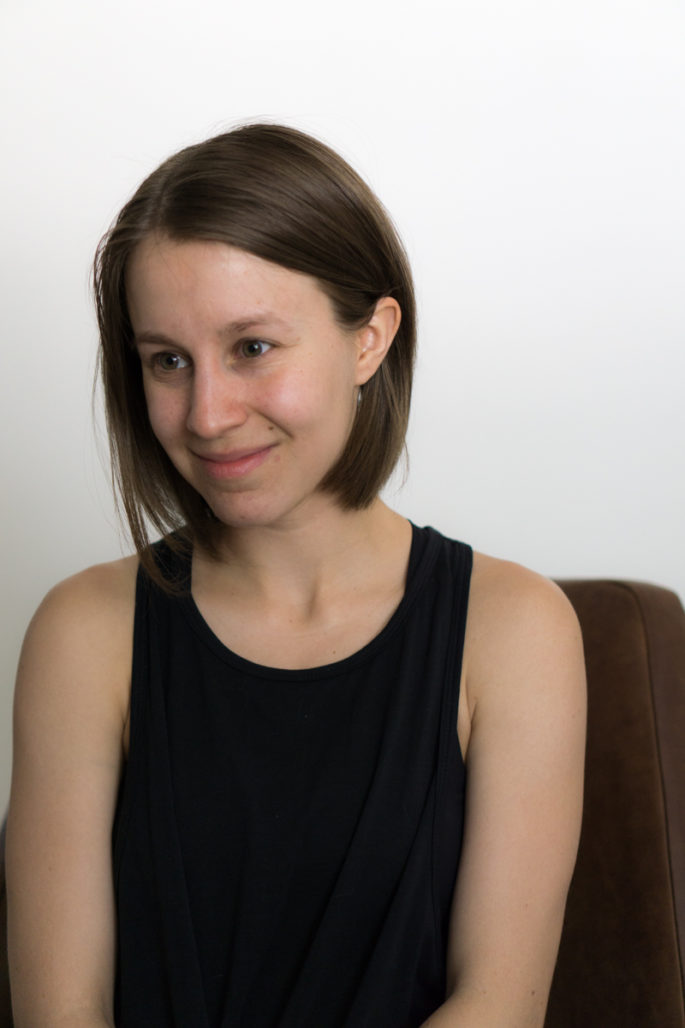
Pre-makeup
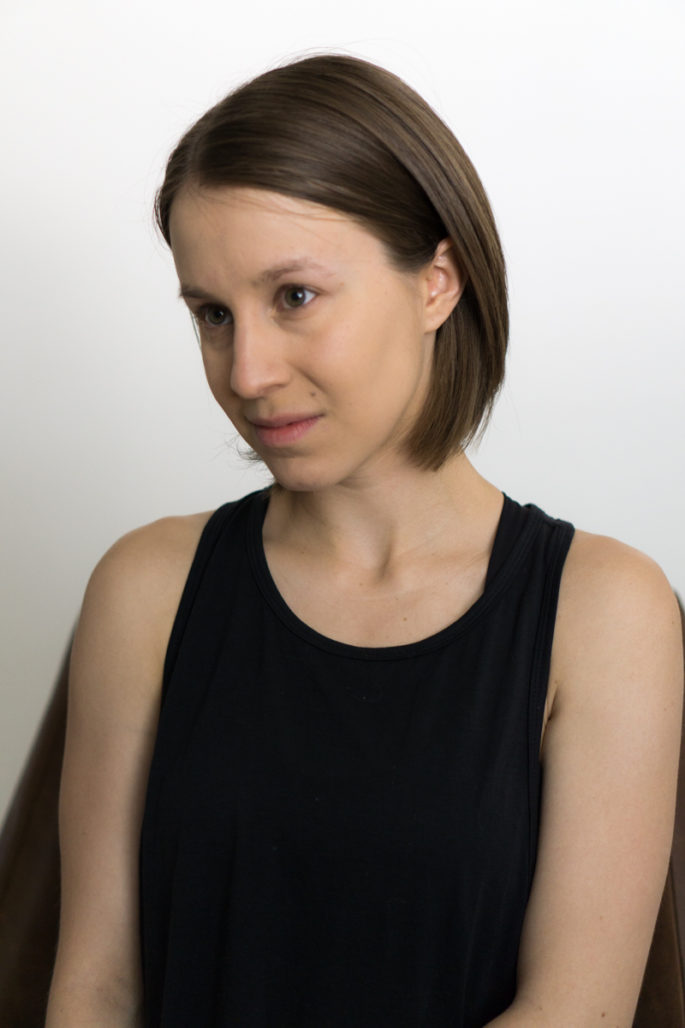
Before makeup (see above photo), my skin is prone to oiliness with some uneven spots and redness. My primary purpose when I wear makeup is to even out my skin tone and create a matte look. Not to mention, it means I actually look like my age while I’m at work.
I’m going to start out with an unpopular beauty opinion: I don’t use primer. I’ve tried multiple primers and I don’t feel they make enough a difference to warrant the extra money and hassle. Instead, I rely on an optimized combination of moisturizer and foundation to prep my face. Drunk Elephant’s B-Hydra gel is my current favorite pre-makeup moisturizer.
I apply my foundation roughly 5-20 minutes after cleansing and moisturizing, which I find gives the best results. If I don’t wait long enough, the moisturizer hasn’t soaked in and my foundation doesn’t go on right, and if I wait too long, my natural skin oil starts to come through, and again, product doesn’t quite go on smoothly.
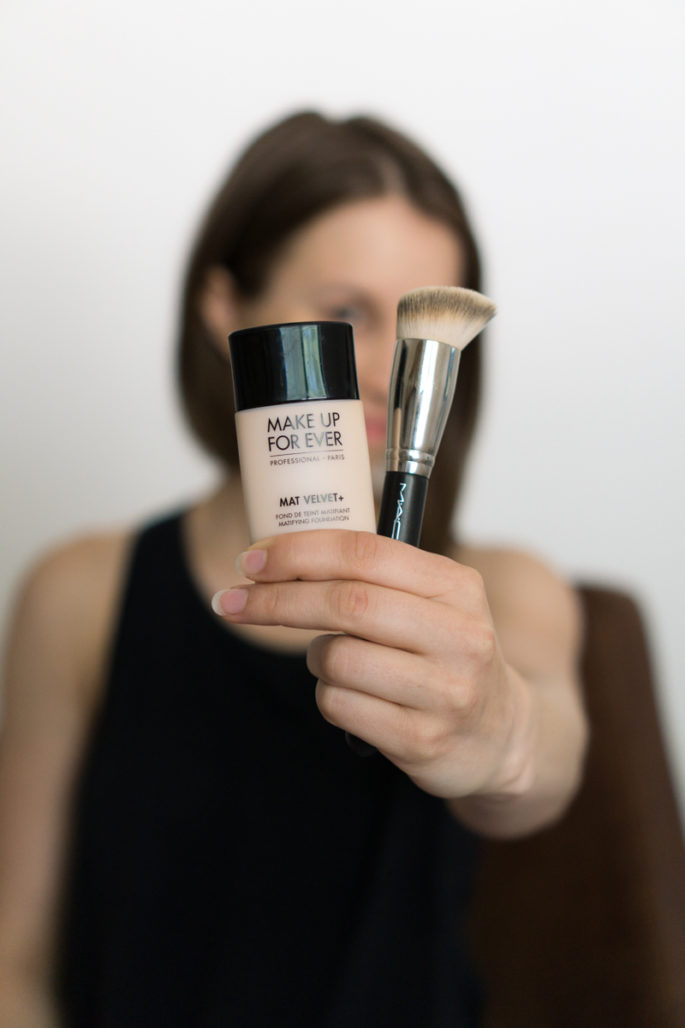
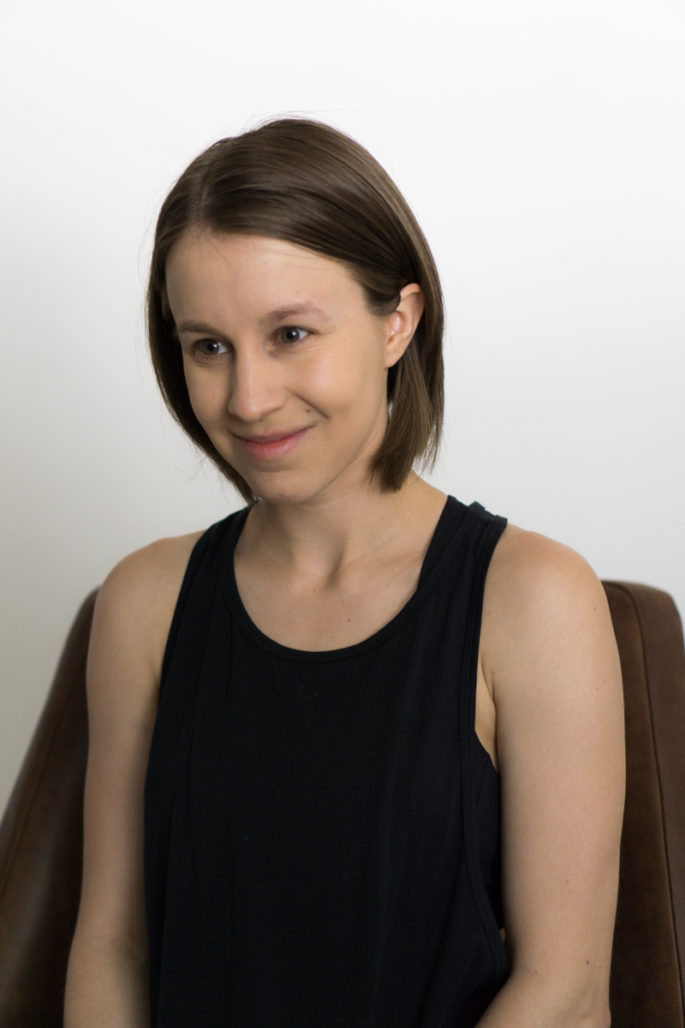
Step 1: foundation
I absolutely swear by Make Up For Ever’s Mat Velvet foundation. I’ve tried branching out, but nothing works as well. When I lived on the east coast in ridiculous humidity, this foundation was indispensable. The difference this foundation made in terms of oiliness (or lack thereof) blew every other combination of anti-shine products out of the water. The liquid formulation goes on smoothly and the matte finish looks great all day. It’s best for those looking for medium to full coverage.
To apply, I use my MAC 170 brush. The bristles are thick but flexible, which helps create an even look. In the past, I’ve also used a dome brush similar to this one, which works well and results in a slightly lighter application. I start out by dabbing foundation along my cheekbones, then working my way outward in short, sweeping motions, blending all the way out to my hairline, ears, and jaw. When I want a little more coverage, I apply a thin/medium layer, smooth it out, then apply again. That approach works better than trying to do one heavy coat.
Step 2: concealer
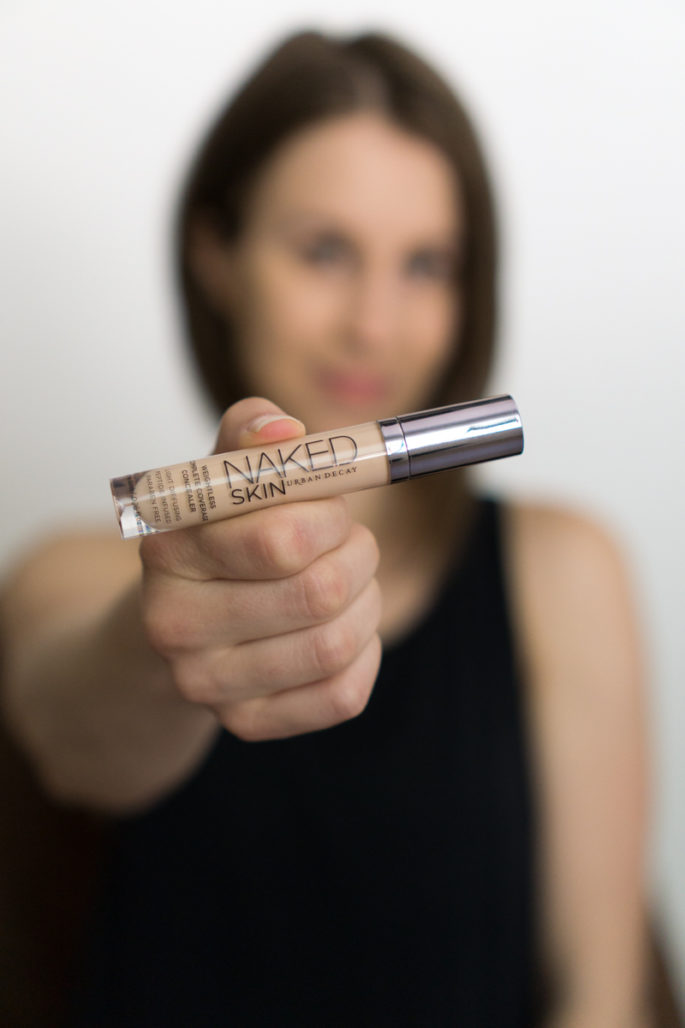
Concealer has always been tricky for me. I have somewhat deep set eyes, which creates a strong shadow under my eyes that I try to counteract with concealer. Currently I’m using Urban Decay’s naked skin concealer in light neutral, which has been working well for me. It has a creamy texture that’s light enough to go on well under the eye without sinking into creases or looking cakey.
I use my ring finger to dab a small amount of concealer along my undereye area. I’ll continually dab it in until it’s fully blended. It’s important to dab or pat it in; I don’t rub or smear it. Sometimes I’ll use my MAC 170 brush (which fits perfectly in the undereye crease!) to gently smooth it out. I don’t apply concealer anywhere else.
Step 3: blush
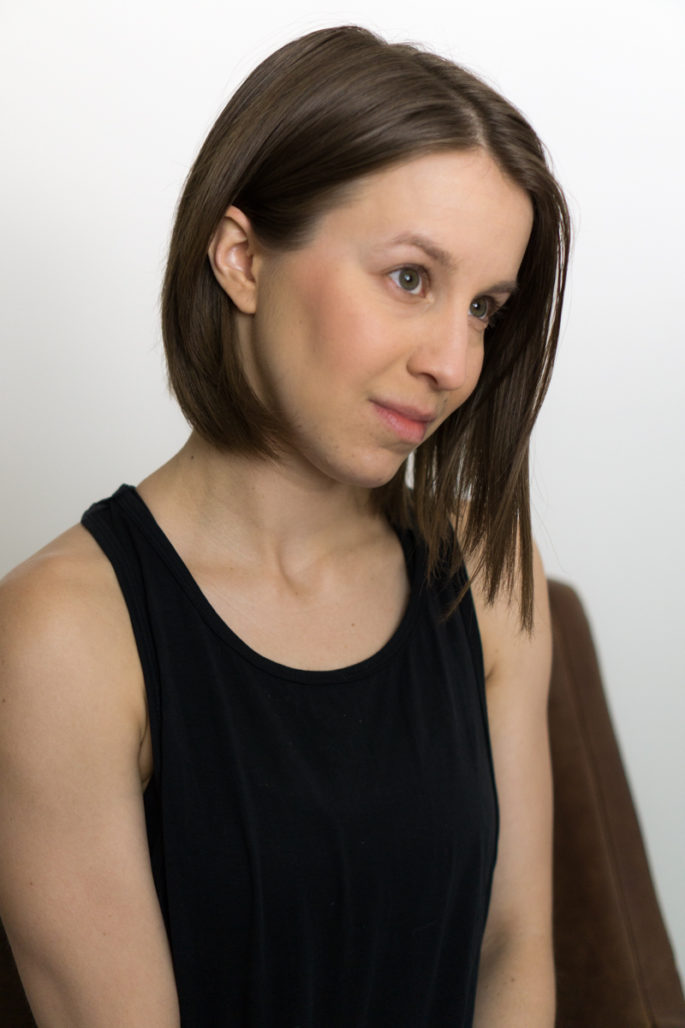
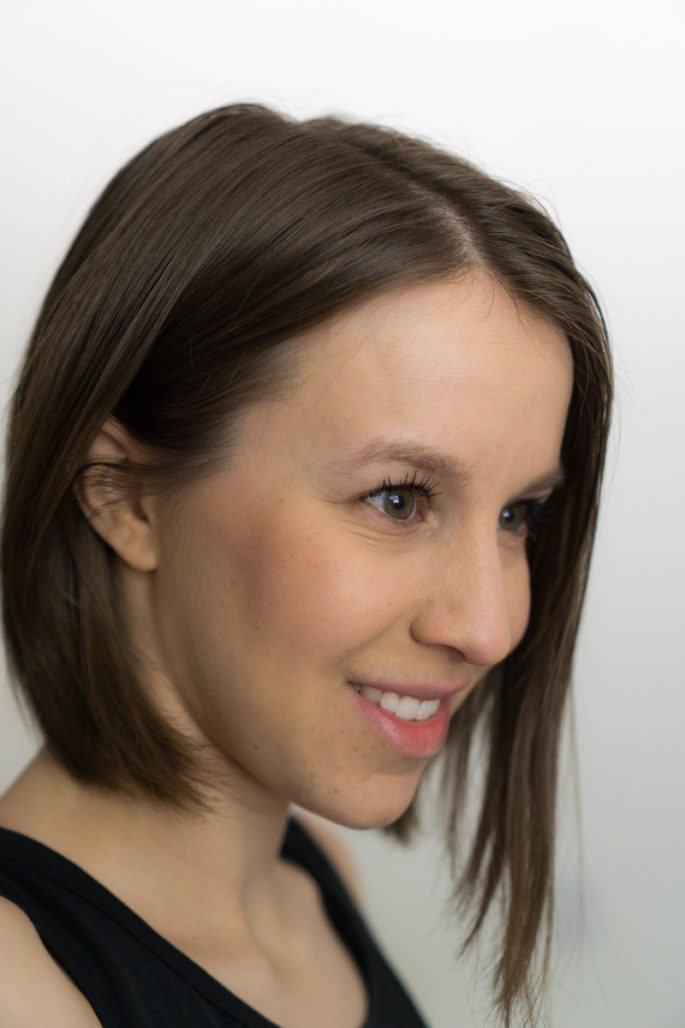
My cheekbones have some natural definition at the sides of my face, so my blush technique is different from most. I apply my blush most heavily toward the back of my cheekbones, just above the shadow you can see in the photo above. From there, I lighten the color as I work toward the center of my face. I generally don’t apply blush beyond the center of my eyes. For my face shape, I’ve found that this creates a lovely natural contour, which negates the need for any additional contouring steps.
I strongly prefer angled blush brushes, so I use and love MAC’s 168. Specifically, I like the short handle (“SH”) version because it’s not as unwieldy as the longer version, not to mention it travels better.
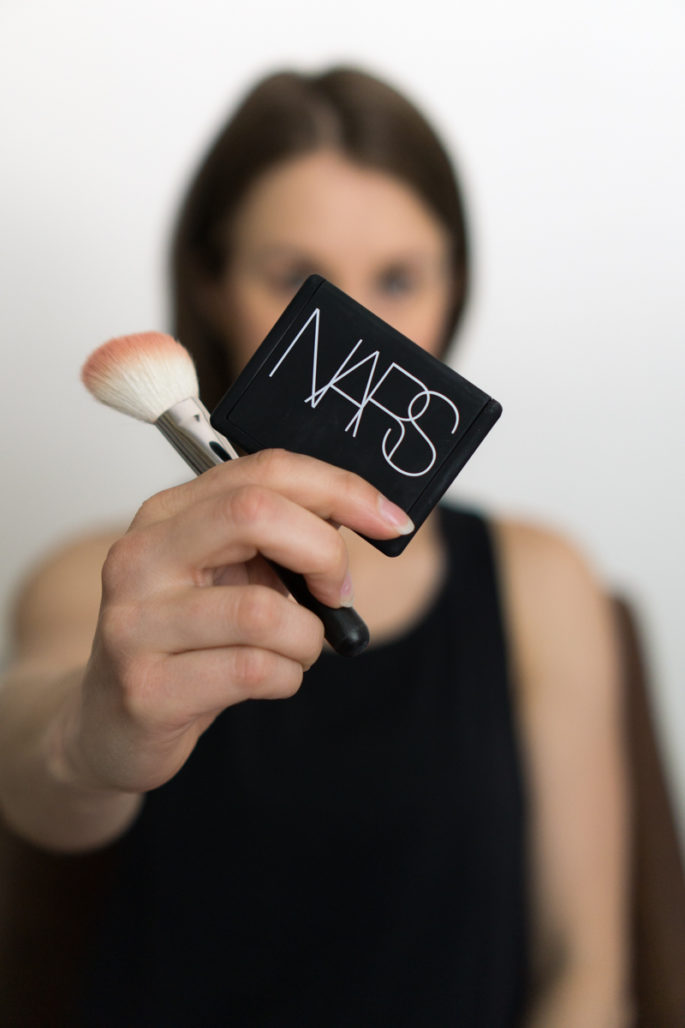
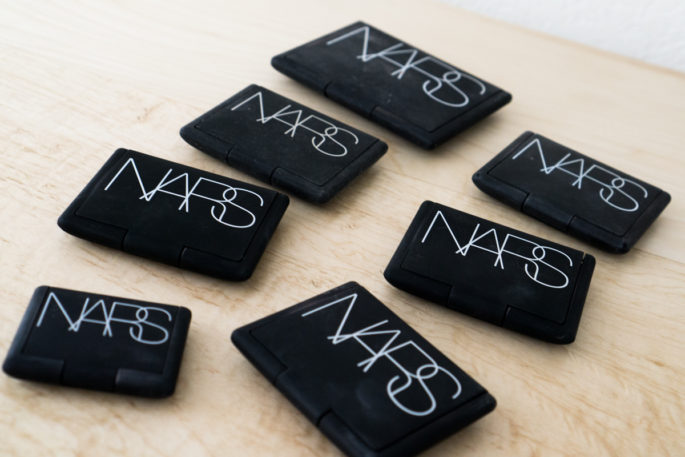
I absolutely love blush and have accumulated about a dozen different shades. NARS blush is my favorite, hands down. My current favorite shades are sin, goulue, and amour. I’m wearing goulue in these photos.

Step 4: mascara
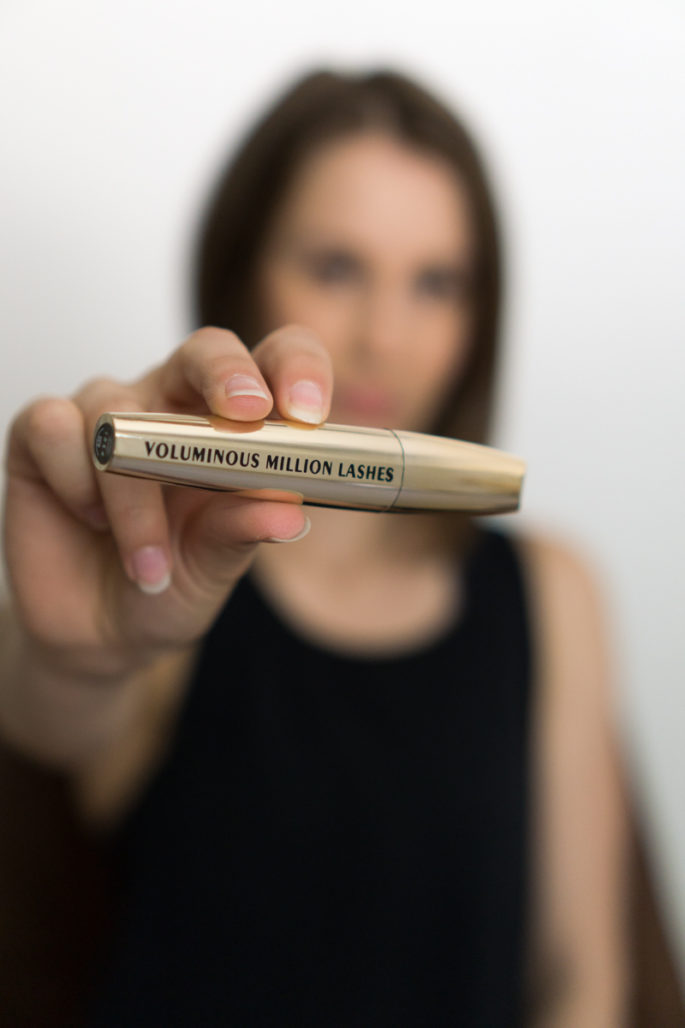
After that, all that’s left is some mascara! I used to spend a ton of money on mascara; I’ve easily tried 2 dozen different kinds. But when I tried L’Oreal voluminous million lashes on a whim, I was hooked.
I can honestly say that it works just as good or better than the expensive brands I’ve tried. It produces a dramatic, buildable effect, does not flake, and comes off easily with cleanser. I like using an inexpensive mascara since it’s the product that I have to buy most often. The $12 or so I save every time I buy mascara definitely adds up.
That said, once I bought a tube in a different color from my usual by accident, and it was NOT the same at all! Now, I make sure to only buy blackest black.
Optional extras
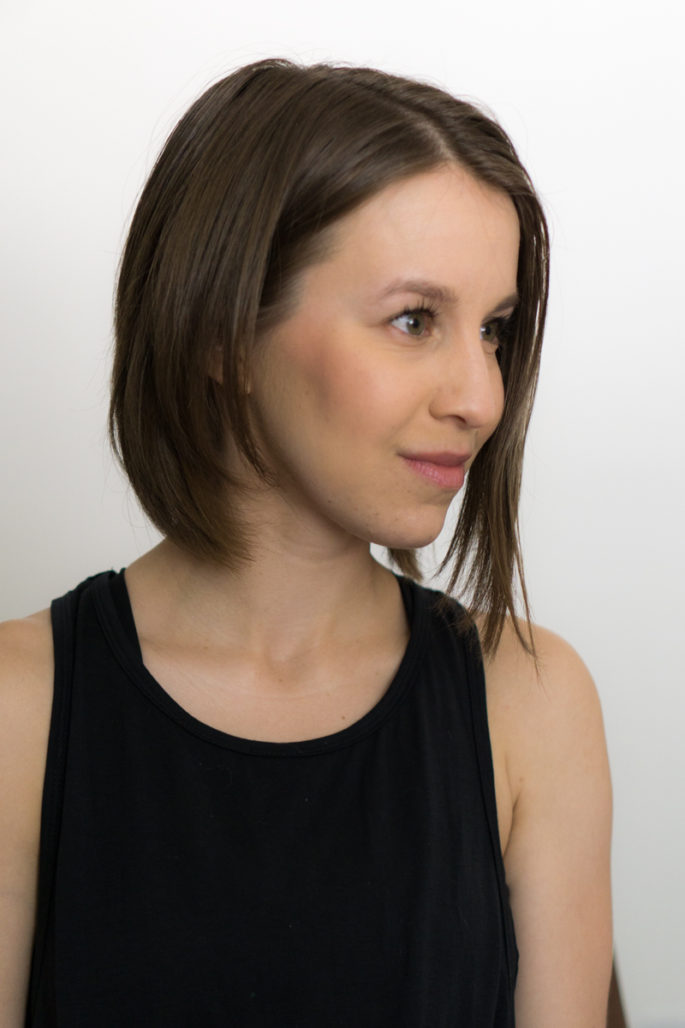
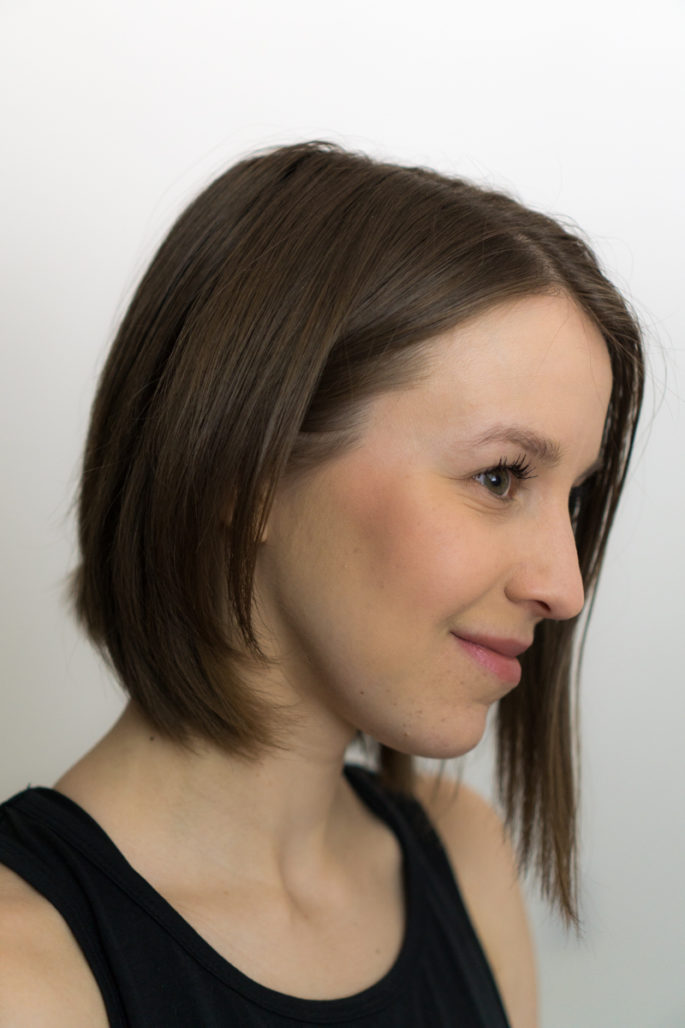
When I want to step up my look, the first thing I’ll add is a swipe of lip color. I used to be an eyeshadow gal, but nowadays I prefer lip color when I want to step up my look. It takes almost no time but instantly adds panache. One of my favorites for a natural look is Laura Mercier’s paint wash liquid lip color in nude rose, which I’m wearing in the above photo. It’s very similar to my natural lip color, just slightly prettier.
Another common extra is a swipe of Benefit’s gimme brow just to fill in my brows a bit. I already have fairly thick brows, so they don’t usually need a lot of help. But sometimes when I’m wearing a lot of makeup (especially when I’m wearing eyeshadow), my brows can get overwhelmed by the rest of the look, so it’s nice to add a little extra color to bring them back out. I like gimme brow because it’s a one-and-done product. Since I don’t use brow products often, I don’t want to fuss with multiple products.
I’m wearing both of these products in the photo above, but the products below are also some of my favorites that work their way into the rotation.
More of my favorites
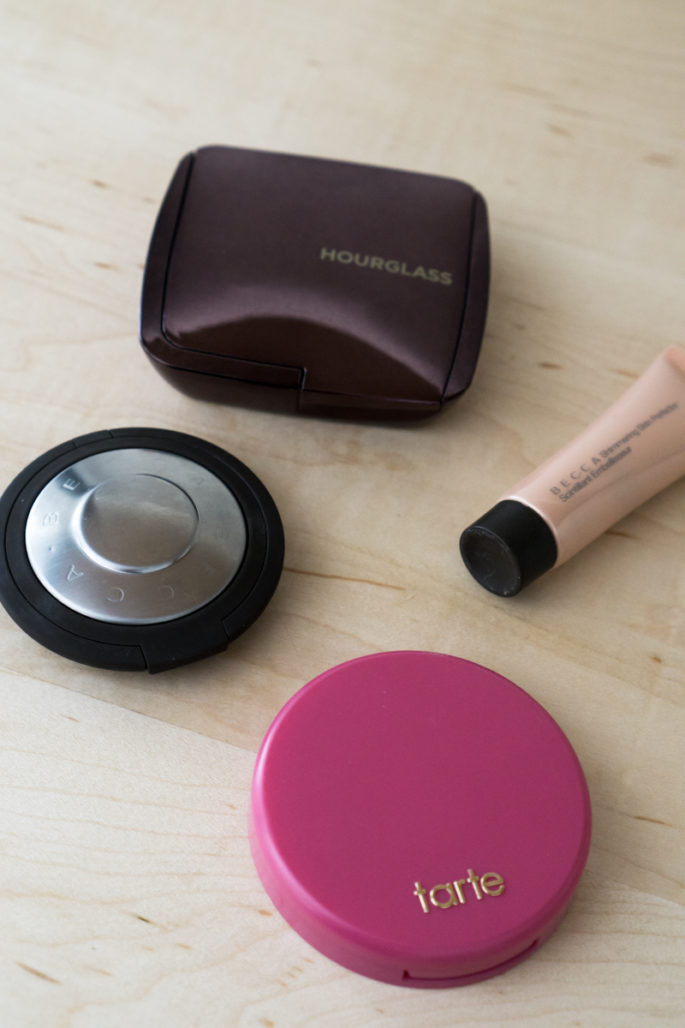
As I mentioned above, I absolutely love collecting cheek colors. I love Becca’s blush, but with the caveat that the pigments are VERY intense. I have to just barely touch the brush to the powder, otherwise it’s just way too much color. With that in mind, if you have darker skin or you have a hard time getting blush to show up on you, Becca will be perfect for you. If you’re more fair like me, just be aware that you’ll have to use a very light hand.
Another of my favorites is Tarte’s Amazonian clay blush in blushing bride. I was looking for a berry shade for my wedding and this one fit the bill, not to mention the name was pretty on the nose. It’s still a shade I reach for often. It isn’t as intensely pigmented as Becca, so you can build the color to your liking.
On the rare special occasion I use a highlighter, I like Hourglass’ ambient lighting powder in luminous light or Becca’s shimmering skin perfector in opal. Both brands make absolutely excellent highlighters. Becca’s liquid formulation produces a stronger effect, so when I want subtle, I use Hourglass, but when I want something more punchy, I’ll use Becca. I used Becca for my wedding.
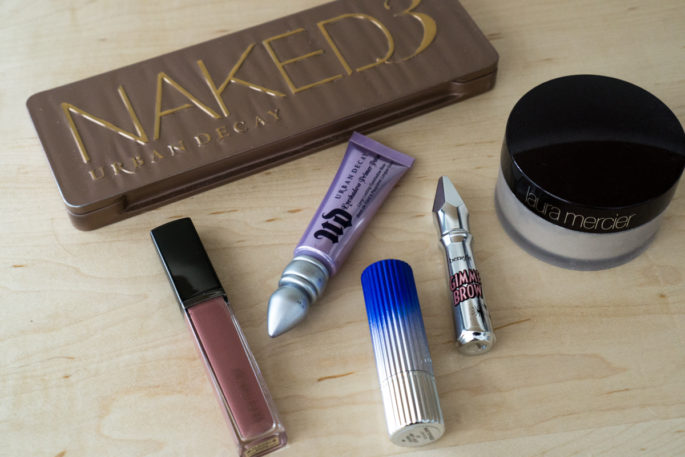
While I love the Laura Mercier I’m wearing above, when I want a more bold look, I’m completely obsessed with Estee Lauder’s abt last night. Despite its intense hue, it lasts longer than any of my other lip colors. I’ve also found that the shade is buildable, so I can apply it with a light hand for just a stain of berry, or more heavily for a more saturated look.
And of course, there’s eyeshadow. As I mentioned, I don’t use eyeshadow nearly as often as I used to, and when I do, I prefer a subtle look. I’ve never veered from the OG eye primer: Urban Decay. It works perfectly every time. I’ll pair it with UD’s Naked3 palette, which is so good I don’t really even touch other eyeshadow anymore. The pink-toned neutrals are very flattering for my skin tone. I used this palette for my wedding makeup.
Lastly, as a finishing touch, I’ll use Laura Mercier’s translucent setting powder. I don’t use this every day, but for times when I know I’m going to want a more flawless look and/or I need my look to last longer, I’ll brush on a light layer. It doesn’t sit heavily or make my foundation look cakey.
Daily look essentials
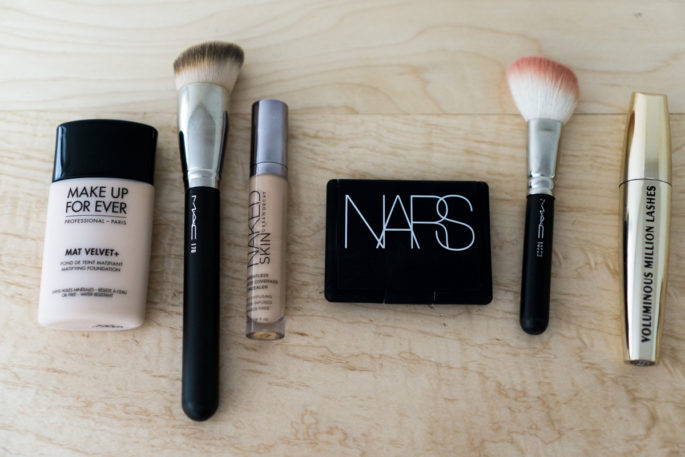
Make Up For Ever Mat Velvet foundation | shade 40
Urban Decay naked skin concealer | light neutral
NARS blush | any shade
L’Oreal voluminous million mascara | blackest black
MAC 170 brush
MAC 168SH brush
More I love
Laura Mercier paint wash liquid lip color | dusty rose
Benefit gimme brow fiber gel | medium
Estee Lauder The Estee Edit mattified lipstick | abt last night
Becca luminous blush | foxglove + camellia
Tarte Amazonian clay blush | blushing bride
Becca luminous skin perfector | opal
Hourglass ambient lighting powder | luminous light
Urban Decay Naked3 eyeshadow palette
Urban Decay eyeshadow primer potion
Laura Mercier translucent setting powder


dang… you have some long eyelashes!
i love that you included a before make-up photo…. that is how i look most days (except older and puffier). LOL.
if i have a BIG SPECIAL OCCASION then i put on mascara, gold eyeliner, and undereye concealer :)
Heh thanks! The “before” photo seemed pretty necessary to get the point across, haha.
your lashes are amazing! :) this is pretty much what i do too, the only diff being i prime and use a concealer + powder foundation combo. :) its way too hot in Tx to wear much else!
Thanks! And yeah, I imagine anything less would just melt right off in TX heat/humidity. D:
absolutely gorgeous and stunning! I use almost everything in your photos. Thanks for the good ideas. I have to replace my mascara. Mine is almost 6 months old YIKES!!
I’m definitely guilty of keeping my mascara around too long too. I got smart last time and bought multiple tubes so I have no excuse, haha.
yippee! a makeup review
i have the same problem as you ie oily skin and living in an extremely humid place. Doesn’t help that i have super active sweat pores (my guy friends say I sweat more than them)..
I have beeen using trestique.. love the pencils (mainly because i really hate carrying so many things around).. but oh my the urban decay palette looks tempting though I really barely go through more than a quarter of the palettes before I have to throw them out..
Anyhow you look absolutely stunning :)
I have the same problem with palettes. Even when I use them frequently, it takes me an eternity to go through that much powder! I used to keep a lot around, but now I’ve gotten smart and try to limit myself.
Thank you for sharing, that is really useful because I too have uneven oily skin and I don’t want to spend more than 5-10 minutes doing my daily make-up. I need to try that mascara! Any chance you’d do a similar post about your hair routine?
My hair routine is kind of nonexistent, haha. I use whatever inexpensive shampoo/conditioner that catches my eye at Target and I shape my hair into place with a straightener in the mornings. That’s all I do! I don’t use any products except the occasional dry shampoo when I’m greasy.
This is such a great post! Your makeup routine is so refreshing compared to other bloggers :) Usually I get so overwhelmed reading makeup posts because I don’t wear that much makeup, but this was fantastic — thanks!
Thanks! I have the same thought about a lot of tutorials out there, they’re just *too* much for me. I’m glad it’s not just me! I’m all about low maintenance but effective. :)