

Need to figure out what to do with your 7 million lululemon shopping bags? Feel guilty for throwing them away? Turn your shoppers into other stuff! Here’s a tutorial for a DIY coaster project I concocted.

What you’ll need:
1 small lululemon shopper
Decoupage craft glue like Mod Podge (I used the original matte version)
4 ceramic tiles about 4″ in size
1 sheet of self-adhesive felt, at least 8×8″
Scissors
X-acto knife
Small-ish foam craft brush
Materials note: I got the ceramic tiles at a local Habitat for Humanity ReStore for 25 cents a piece. The foam brush was about 50 cents, and the sheet of stick-on felt was about $1. The Mod Podge is usually $5-6 but I had a coupon that made it less than $4 (Michael’s and JoAnn Fabrics ALWAYS have coupons). All together, it was about 6 bucks for my first set, and most of that can be reused if you make multiple sets, so each additional set could be as low as about $2.
Instructions
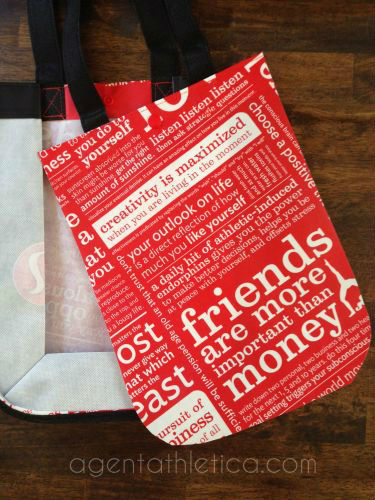
1. Use scissors to cut out one side of the shopper. Cut as close to the black edging as you can. Now is also a good time to cut off the top part where the handles attach.
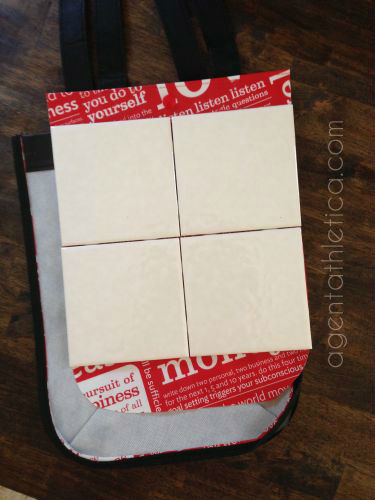
2. Lay out the tiles on top of the shopper to get an idea of where you need to cut.
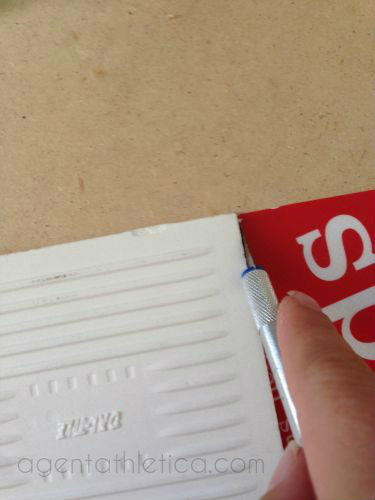
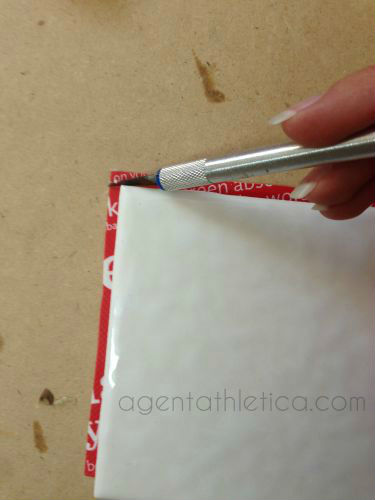
3. Take away all but one tile, and use the x-acto blade to cut around the tile. You should end up with a square a little bit bigger than the tile itself.
At the risk of stating the obvious: before you cut, make sure you’re cutting on a surface that won’t be damaged by the blade, or some kind of working surface where making slice marks won’t matter.
Alternatively, you can use a straightedge and cut the shopper in quarters: halfway across the middle, and halfway vertically.
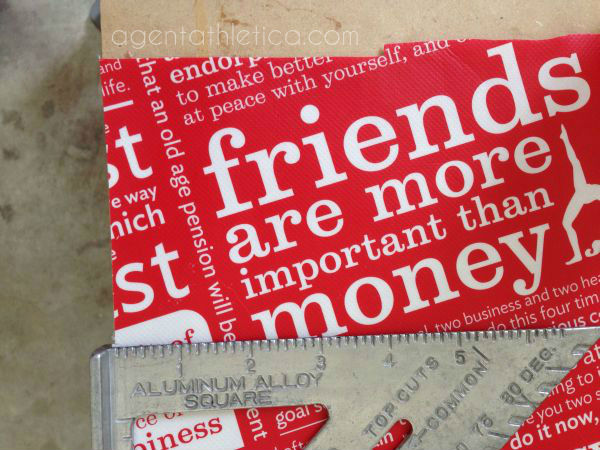
4. Using a straightedge or the side of the tile, trim down the square of the shopper so a) all the edges are straight, and b) the square is about 1/4″ smaller on all 4 sides versus the tile. Most tiles aren’t perfectly flat on top, which makes getting the edges to stick difficult if the tile and the shopper square are the same size. Plus, a little white space framing the square looks nice.
Don’t worry if the square you cut out gets ruined. You have the other side of the shopper for backup if you need to try again with another square.
[Work quickly through steps 5-7.]
5. Make sure the tile is clean and free of any dust or crap. Use a foam brush to apply the Mod Podge to the tile itself. Make sure you get it all the way out to the edges. You want to paint on a pretty generous layer: not too thin but not globby. If you don’t put on enough it’s a pain in the butt to try to go back and fix it.
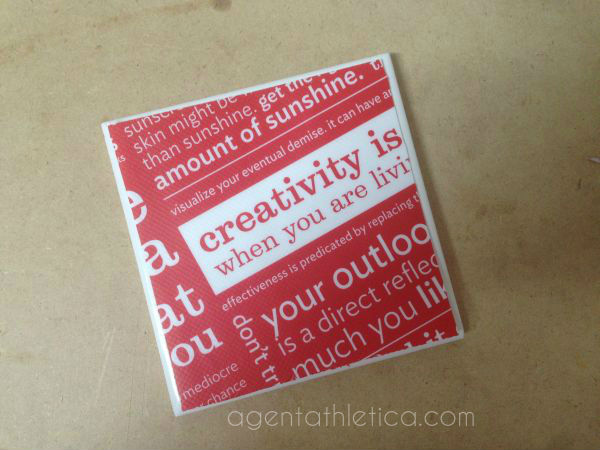
6. Place the shopper square centered on the tile. Using your fingers, a credit card, or some kind of squeegee, smooth the top and make sure there are no bubbles and the square is lying flush on top of the tile. Basically, you want to make sure the whole square is in contact with the Mod Podge so that it’ll stick really well.
7. Paint another layer of Mod Podge on top of the tile, covering the whole thing and going out to the edges. This will seal the surface and keep the edges from peeling.
8. Repeat the cutting and Mod Podge-ing with the other 3 tiles. (Note: if you want to re-use the foam brush after this project, rinse it out before the Mod Podge dries, because it will turn into a brick.)
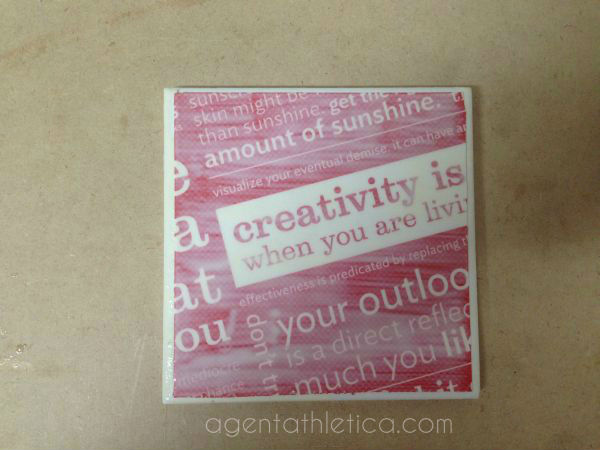
9. Let it dry for a couple hours, depending on things like humidity and how thick you coated it. It should be dry to the touch and appear totally clear, no white spots.
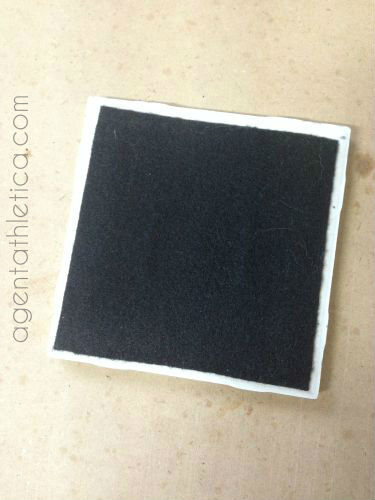
10. Use scissors to cut out 4 squares of your adhesive felt, a little smaller than the tile since you don’t want felt sticking out on the bottom edges. Don’t worry too much about how perfect or straight the edges are, no one is looking at the bottom. Making sure the tile is dried, turn it upside-down and stick the felt on the back of the tile. This step makes it so the bottoms of the tiles don’t scratch your furniture.
Alternatively, you can buy regular felt and use glue to stick it to the back of the tile, but I tried this and it was a huge PITA, didn’t turn out as well, and overall wasn’t worth the tiny savings. Just use the peel-and-stick stuff.
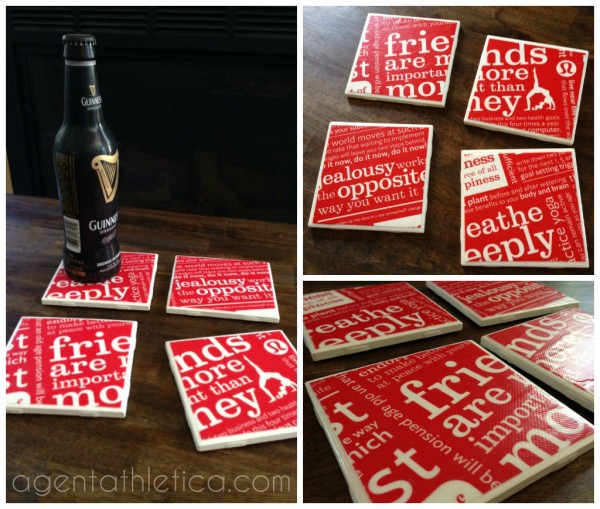
10. Marvel at your crafting prowess.
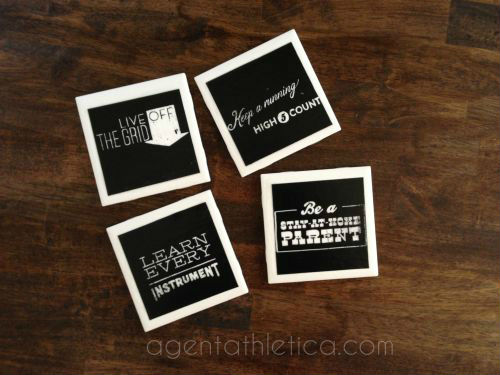
Besides the classic red manifesto style, you can also do this with other shoppers you have lying around. Here’s another set I made out of one of a special edition shopper from a couple years ago.
Another way to customize this project is to use different tiles. Try different colors, or even look for tiles made of different material. I saw one coaster project made out of 4″ squares of glass with a photo stuck to the bottom of the glass. I really wanted to try this, but I couldn’t find any glass tiles.
If you give this project a shot, sound off in the comments and let me know how it goes!


ooooh that’s a fab idea…thanks for sharing. I am totally gonna give this a go as I, like everyone else, have waaaay too many shopper lying around. I recently took a bunch of the classic red/white text ones into my store (their suggestion when I had said I felt bad tossing them but just had too many). But this is a great, crafty, functional alternative. :)
Oh that’s nice that your store takes them. I’ve heard of people trying to take some in and the store rejecting them for “sanitary” reasons or something. You can also tape them up and use them as mailers which can be useful.
Anywhere else that you know of that sells ceramic tiles? Michaels or Joanns? I’d love to try this!
I haven’t seen them at craft stores. It’s more likely they would have them at home improvement stores but I didn’t check. Not sure if you can buy them individually though, is the only catch there.
Ingenious! You have a great sense of humour that comes out in your writing. Great blog!
@ Ashley, I have seen plain white tiles at Home Depot, and I think you can buy them individually. Try Lowe’s as well.
Thanks!! :)
I know what everyone in my life is getting for Christmas ;-) lol. Great post!
Lol thanks!
This is a FABULOUS idea!!
Thanks Whitney! I am usually pretty un-creative so I’m patting myself on the back for this one, lol.
What a GREAT post! Great idea and so nice to see a different kind of Lulu post! Thank you!
You’re welcome! Glad you like. :)