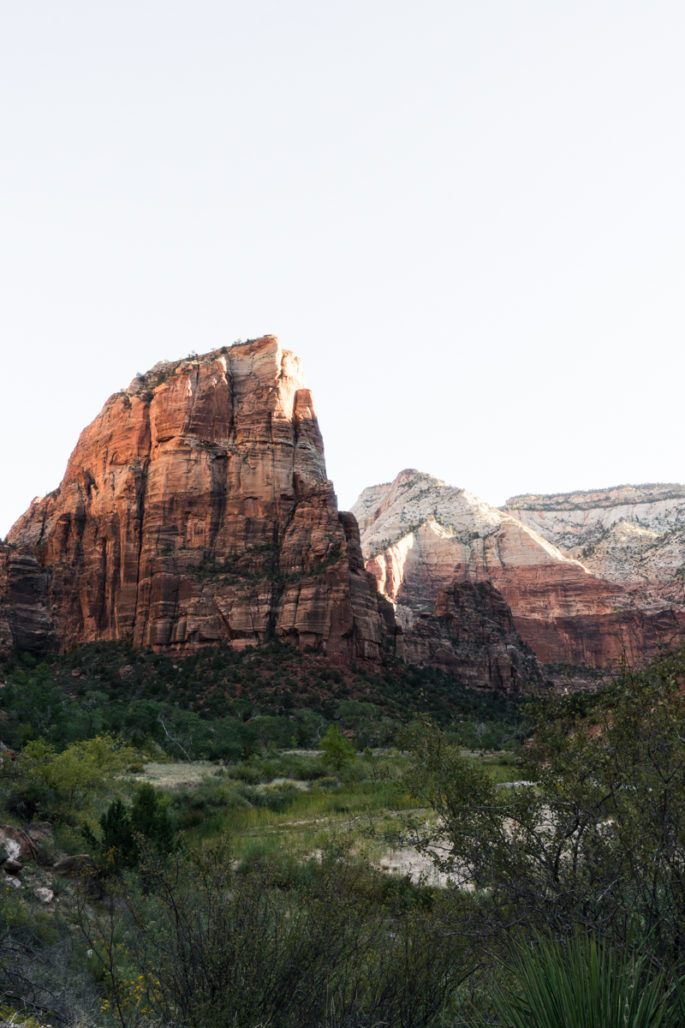
Angel’s Landing in Zion National Park has a reputation for being one of the most terrifying but also the most popular hikes in the southwest. If you can get past the fear factor, it’s also one of the most fun! I love hikes that have an unexpected element. In this case, that’s the scrambling and the chains you’ll have to make use of in order to arrive at the summit.
In case you don’t know, “exposure” as a hiking term refers to trails surrounded by steep areas with significant drop-offs. This is definitely true for Angel’s: during the final ascent, there are many places where the trail drops off >1,000 feet (often on both sides!) straight to the canyon floor. Gulp.
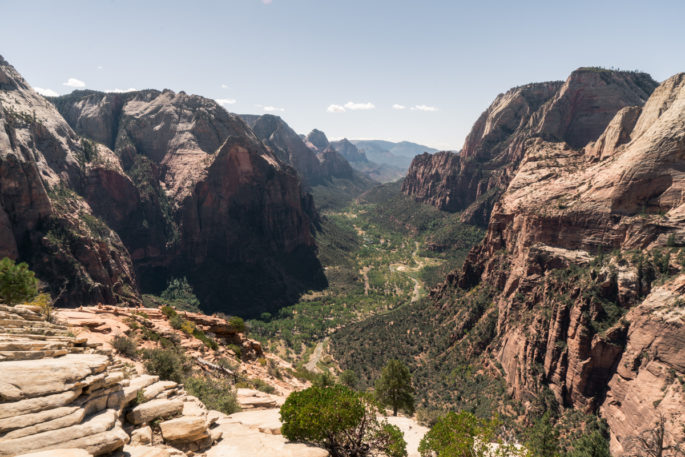
Contrary to what it might sound like, the trail is reasonably safe. Yes, accidents can always happen, but they’re extremely rare, especially considering the huge number of hikers that traverse this trail every year. I’ve seen everyone from young children to casual tourists to a 70+ yr old woman make it to the summit. As long as you’re honest about your abilities and exercise reasonable caution, this hike doesn’t have to be so scary. (Note: regardless of your abilities, the final ascent is always sketchy in icy or rainy conditions.)
As far as exertion goes, Angel’s Landing is moderate to strenuous, depending on your abilities and what you’re comparing it to. You’ll cover approximately 5 miles and climb about 1,500 feet from the canyon floor.
I had the privilege of being able to go out for this hike again a couple weeks ago when I was in Zion. I’ve got a bunch of pics and tips to share with you on one of my all-time favorite hikes!
What to expect on the trail
 [ezcol_1half]
 [/ezcol_1half] [ezcol_1half_end]
 [/ezcol_1half_end]
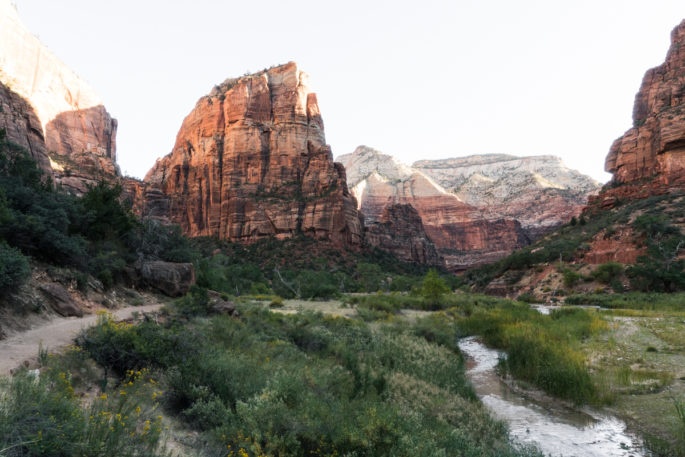
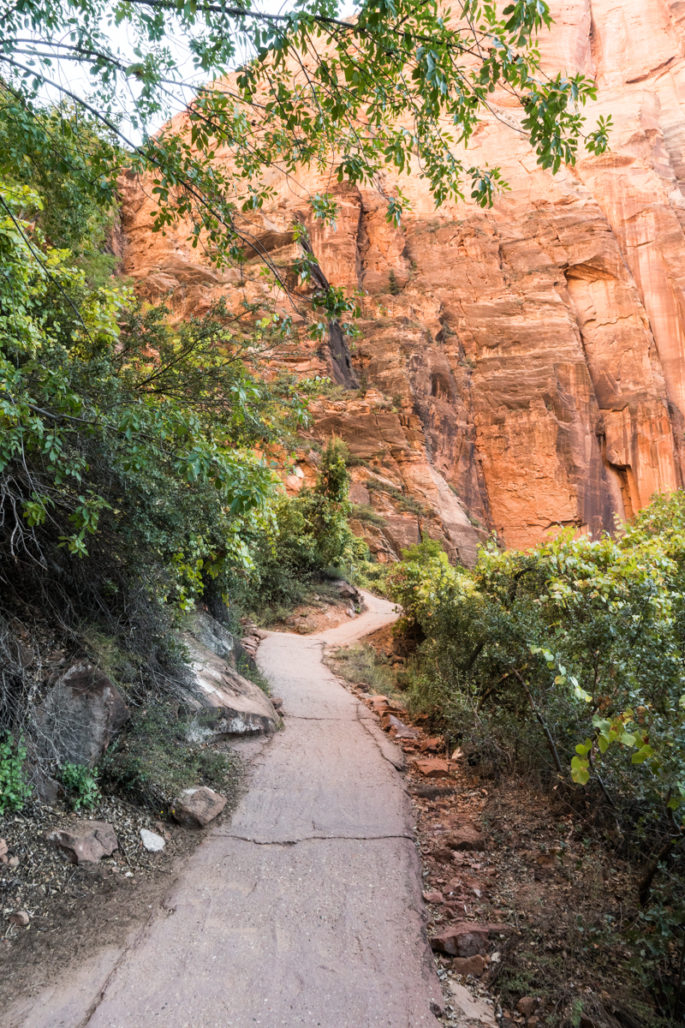
For the first mile, you’ll start off pretty easy with a gradual grade. You’ll get beautiful views of the majestic shark-fin-looking beast you’re about to summit.
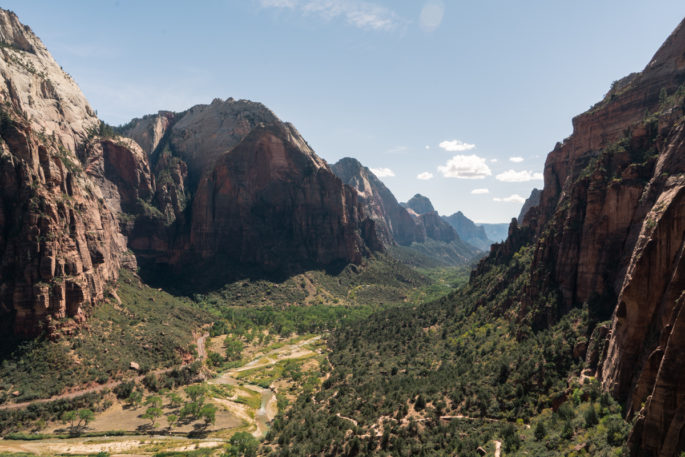
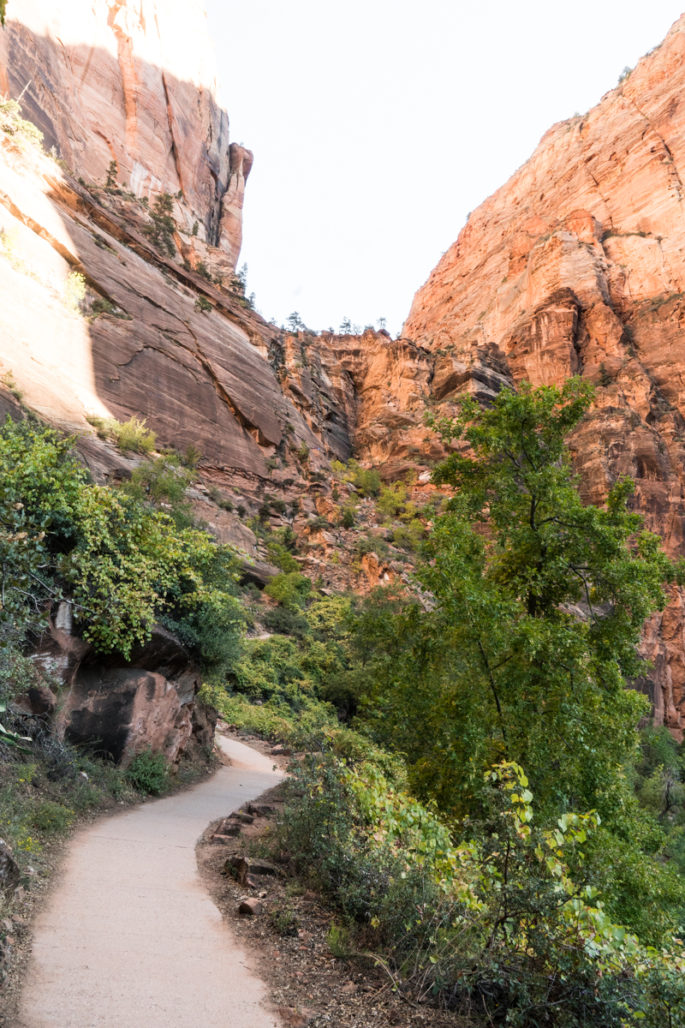
After that, you’ll ascend a grueling set of steep switchbacks up the canyon wall. Once you get through this, you’ll be through a pretty big chunk of the climbing. You’ll be treated to gorgeous views during the whole climb. You’ll also notice that most of the trail is paved. This is to help prevent erosion, but it also helps you grip your way up the steep switchbacks.
[ezcol_1half]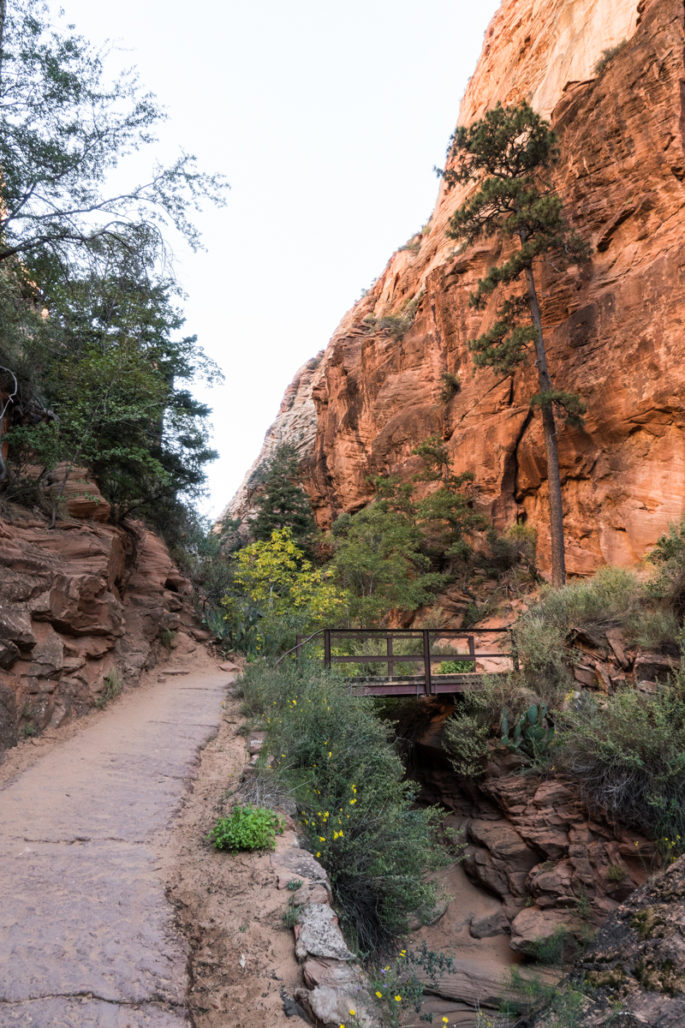 [/ezcol_1half] [ezcol_1half_end]
 [/ezcol_1half_end]
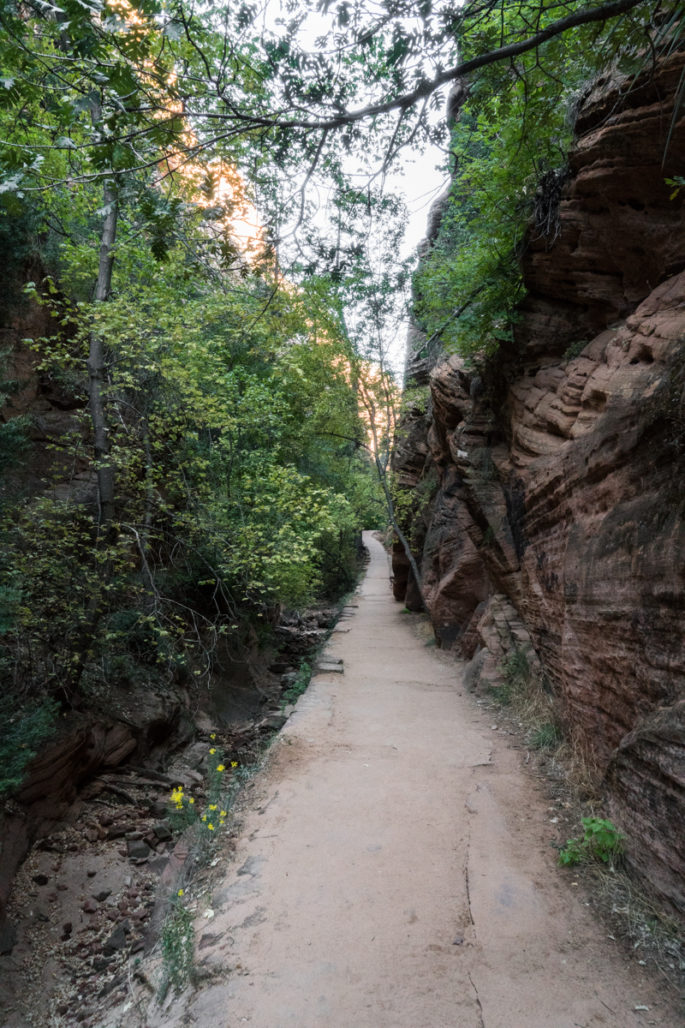
From here, you’ll cross a little bridge and you’ll get a brief respite as the trail relaxes to an easier grade. This portion of the hike is called Refrigerator Canyon; you might notice how much shadier and cooler it is compared to the rest of the trail.
I’ve hiked up this portion of the trail in late fall, winter, and early fall. It’s beautiful no matter what! This early fall trip (the last weekend in September) was the first time I’ve seen it fully greened up like this–gorgeous.
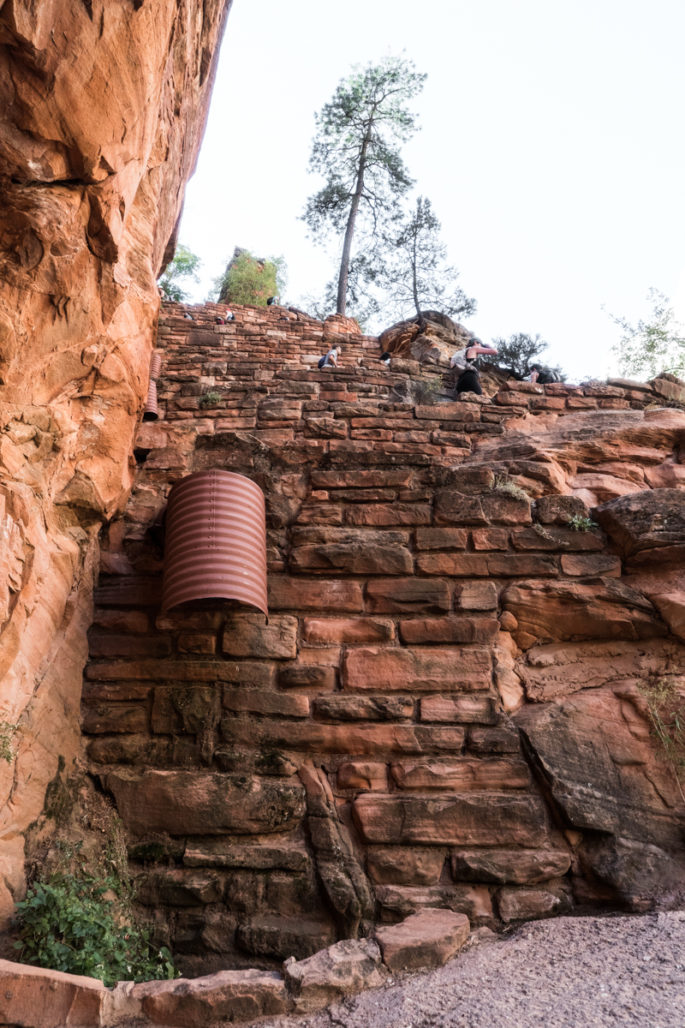
After you get a ways back into the canyon, you’ll hit another set of leg-melting switchbacks known as Walter’s Wiggles. When you get to this tight bricked section, you’re almost there! (By the way, here’s a cool photo of the wiggles as seen from the sky.)
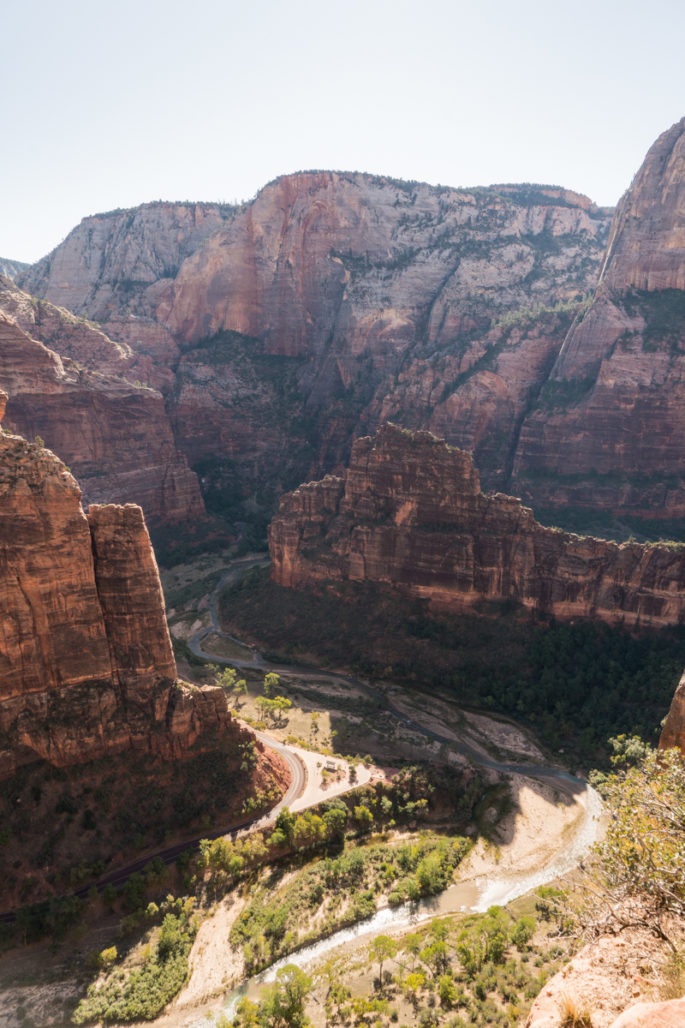
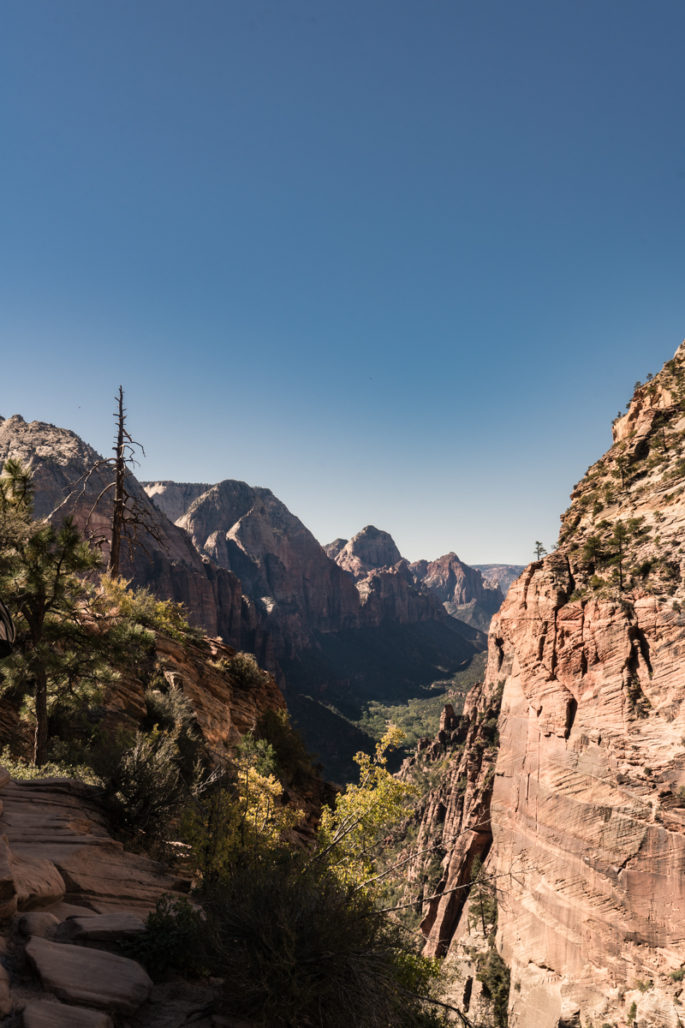
At the top of the wiggles you’ll arrive at Scout Lookout, a gorgeous viewpoint where you can see both up and down Zion Canyon. It’s worth a rest here to take in the views and rally strength before the push up to the summit. If the summit isn’t in the cards for you for whatever reason, I definitely recommend hiking to the lookout. It’s worth it on its own!
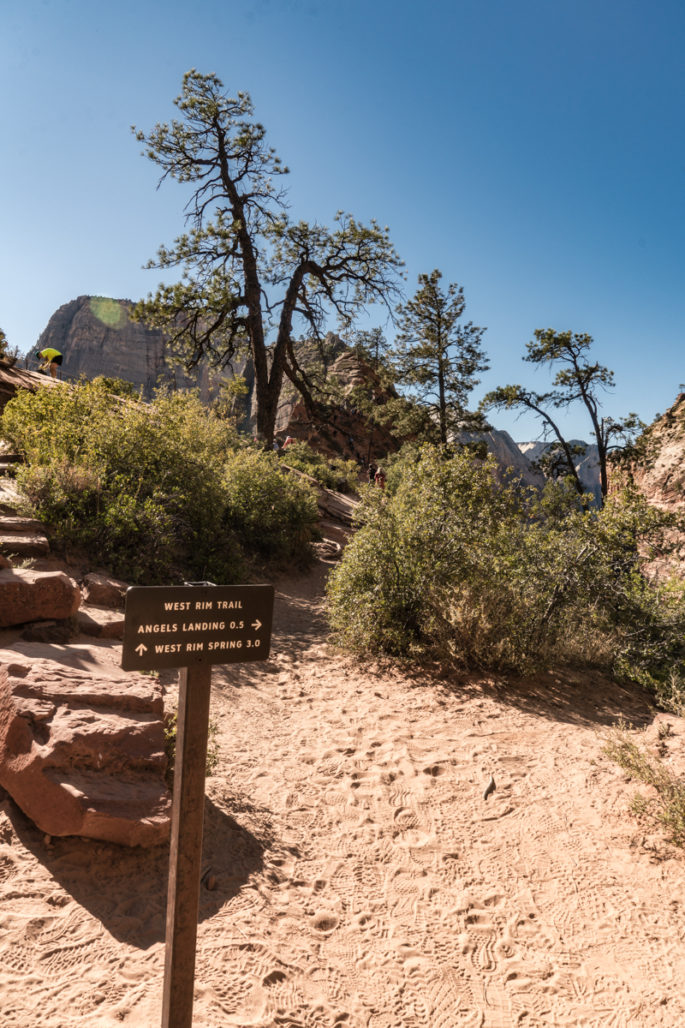
From here, the trail splits to West Rim Trail or to the summit of Angel’s Landing. It’s “only” half a mile to the summit, but there’s a good chance it’ll be one of your slowest half miles ever. Between the traffic and the difficult terrain, your pace will drop dramatically. Depending on trail congestion and your abilities, allow anywhere from half an hour to an hour and a half (one way) for the ascent to the summit.
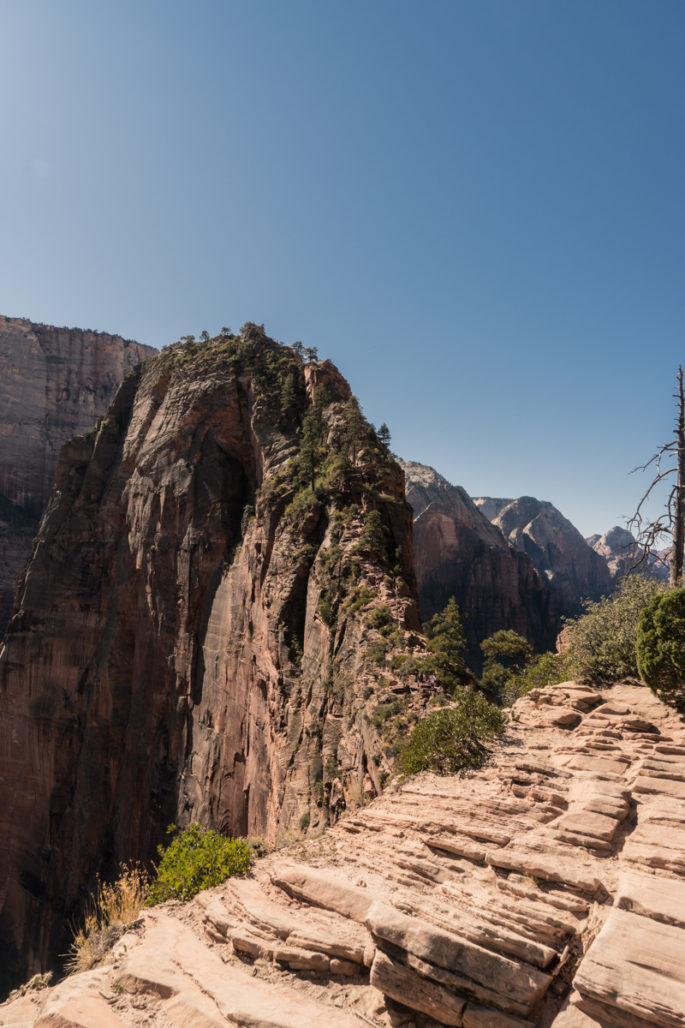
(Yes, that’s the trail up to the summit!)
[ezcol_1half]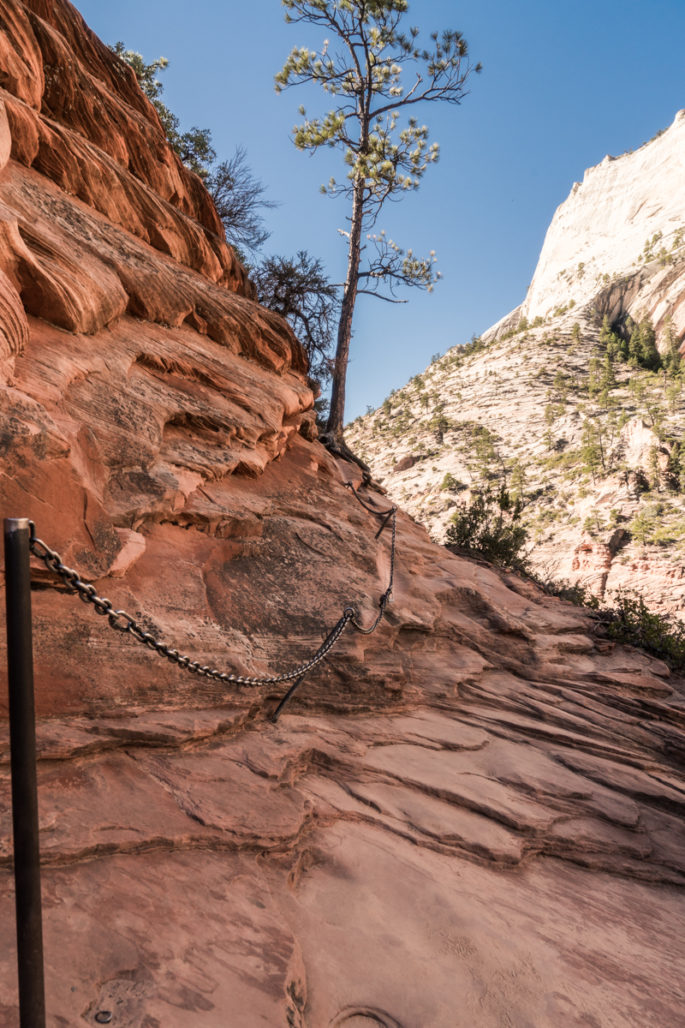 [/ezcol_1half] [ezcol_1half_end]
 [/ezcol_1half_end]
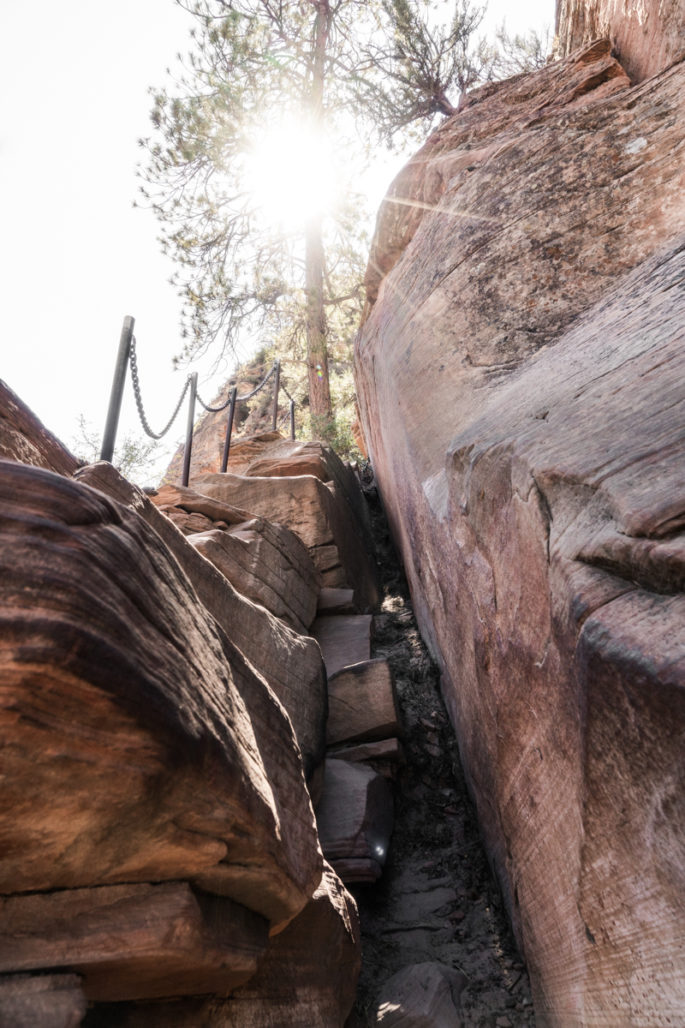
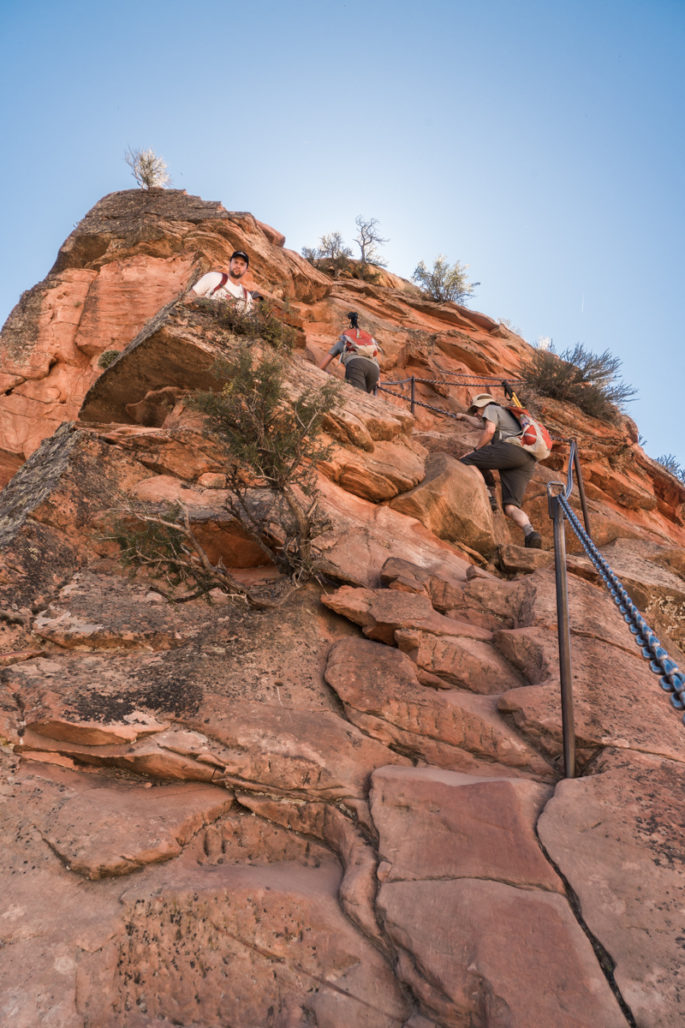
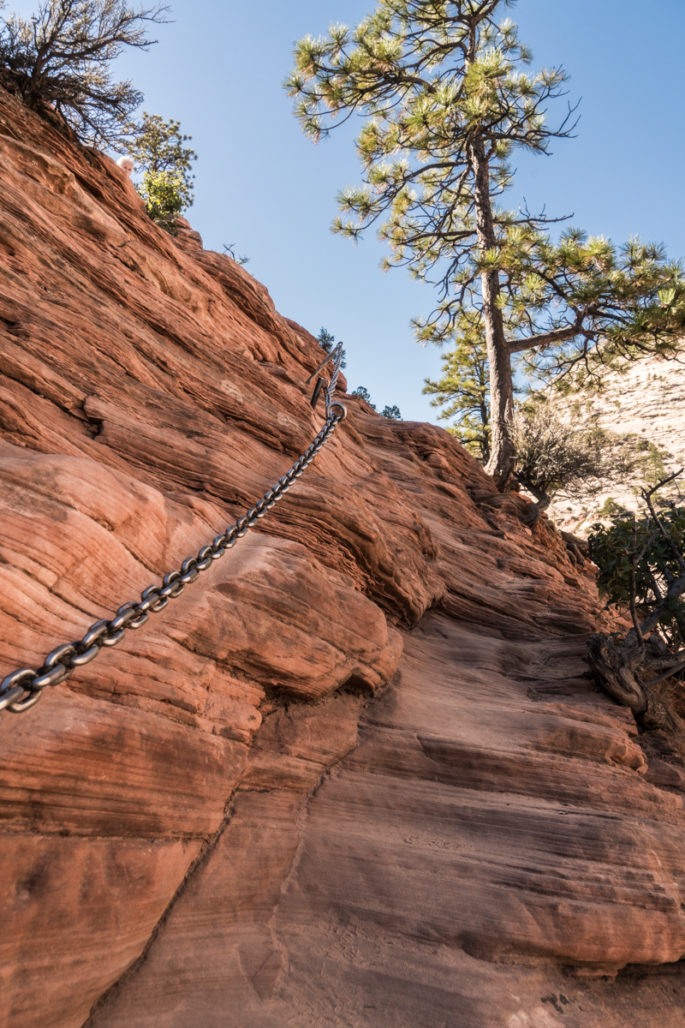
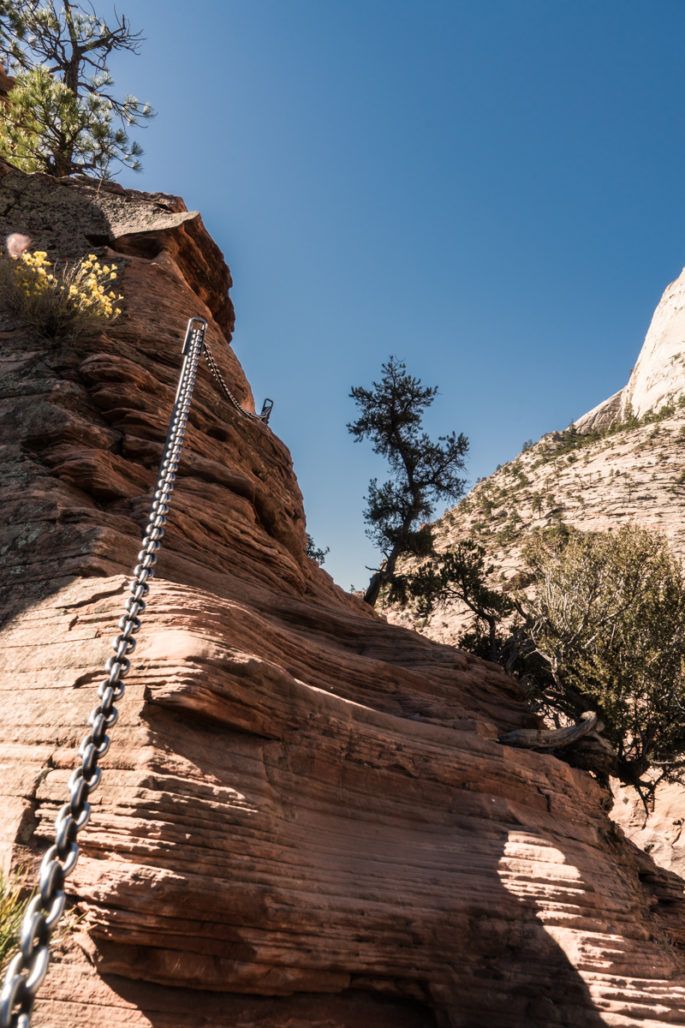
In my opinion, the ascent up the back of Angel’s Landing is the most fun part. You’ll climb another couple hundred feet, but it won’t be anything like the switchbacks you’ve experienced up to that point. You’ll be negotiating ultra-steep terrain, awkward crevices, and clinging to the chains for all you’re worth. It’s definitely a full-body workout. :)
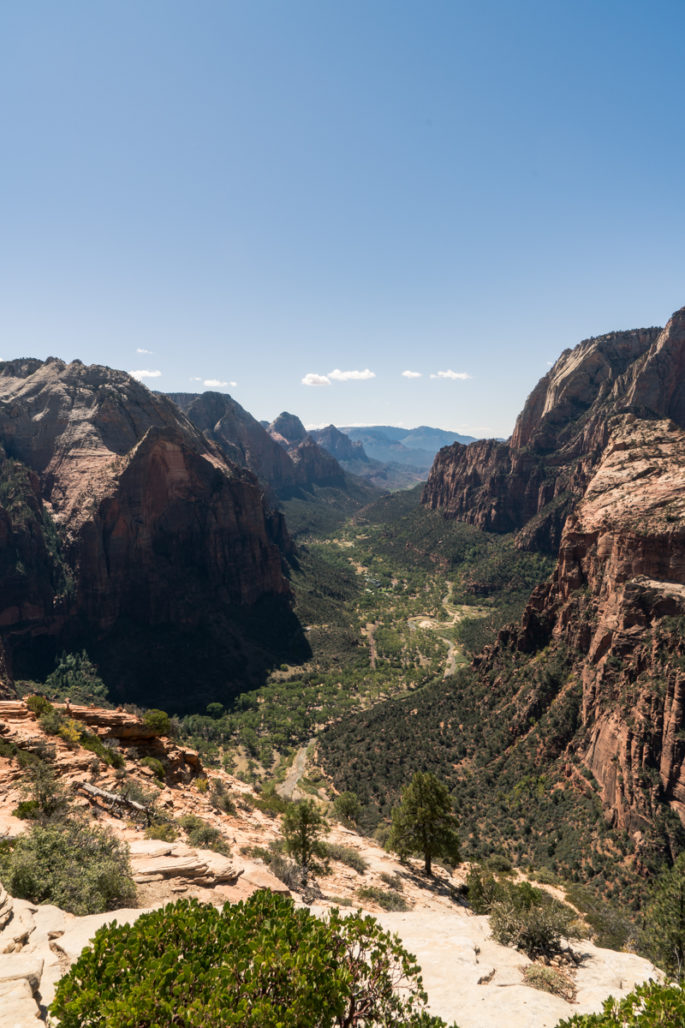
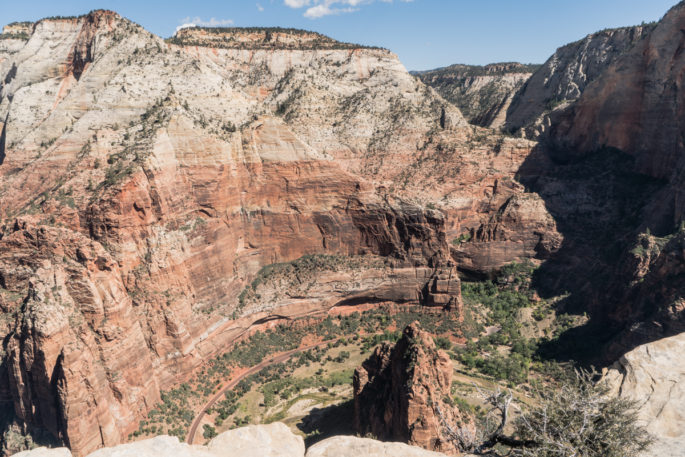
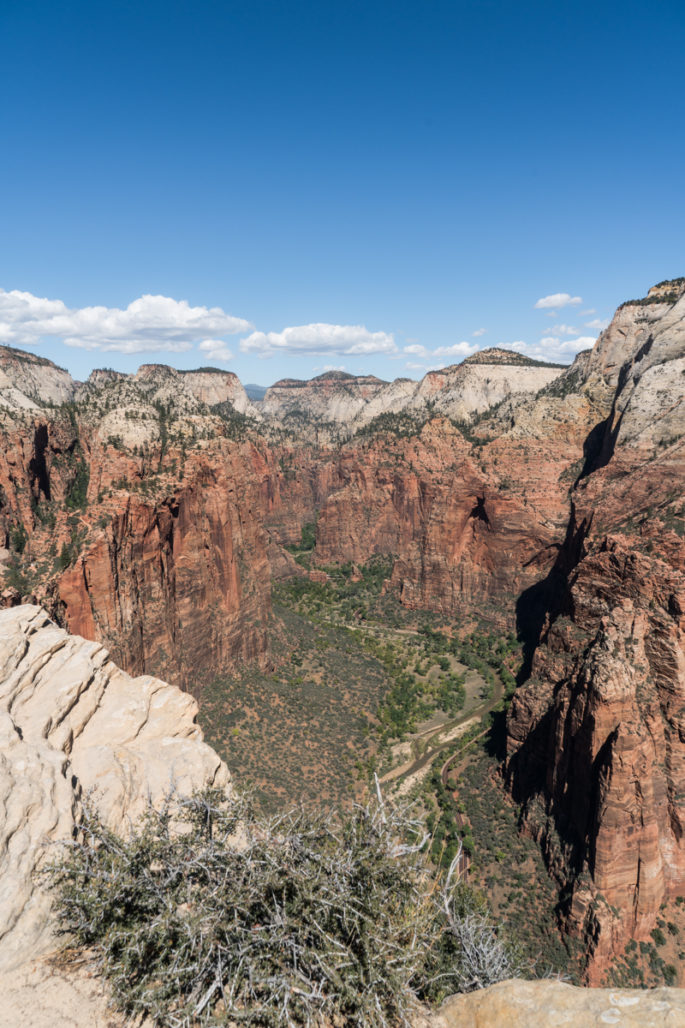
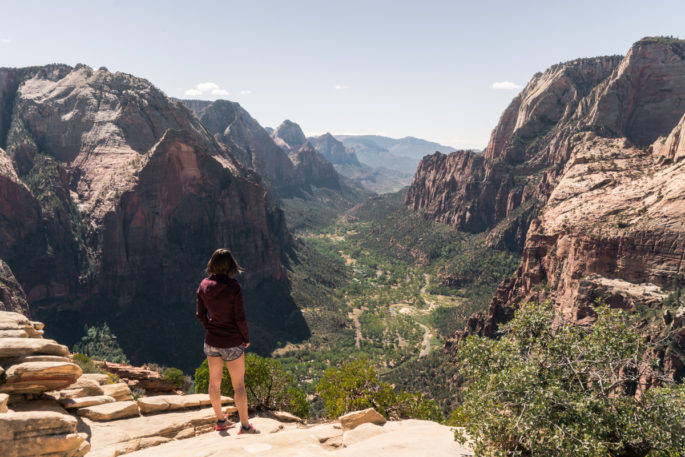
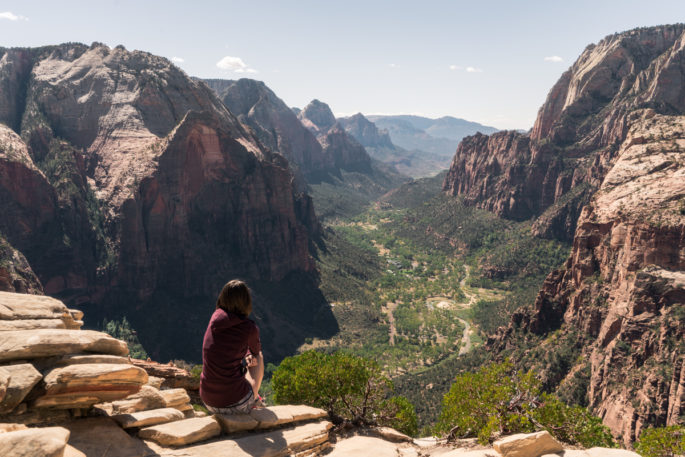
The views at the summit are second to none. You’ll find yourself smack in the middle of Zion Canyon, with epic views up to the Temple of Sinawava and all the way downcanyon. There’s plenty of room to spread out at the summit and have a snack and soak up the views before you head back down. Watch out for the chipmunks, though–they can be pretty aggressive up there. (And as cute as they are, be sure you don’t feed them!)
The descent back to the trailhead is usually really quick. Getting down from the summit back to Scout Lookout can be a tad bit slow, but once you’re there, the miles breeze by in what feels like an instant. Since the trail is mostly paved, you can cruise downhill pretty fast (if you like!) without worrying about sliding on loose dirt and gravel. If you want to chill out a little after your hike, look for the “river access” signs off the trail. River access is along the sandy portion of the trail not too far from the trailhead. If it’s a hot day, taking your shoes off and sticking your toes in the river is a nice post-hike treat!
Tips for enjoying Angel’s Landing
All the same rules of hiking apply on Angel’s Landing: educate yourself, prepare appropriately, and be mindful of bad weather. That said, there are a few considerations that are particularly important on this trail.
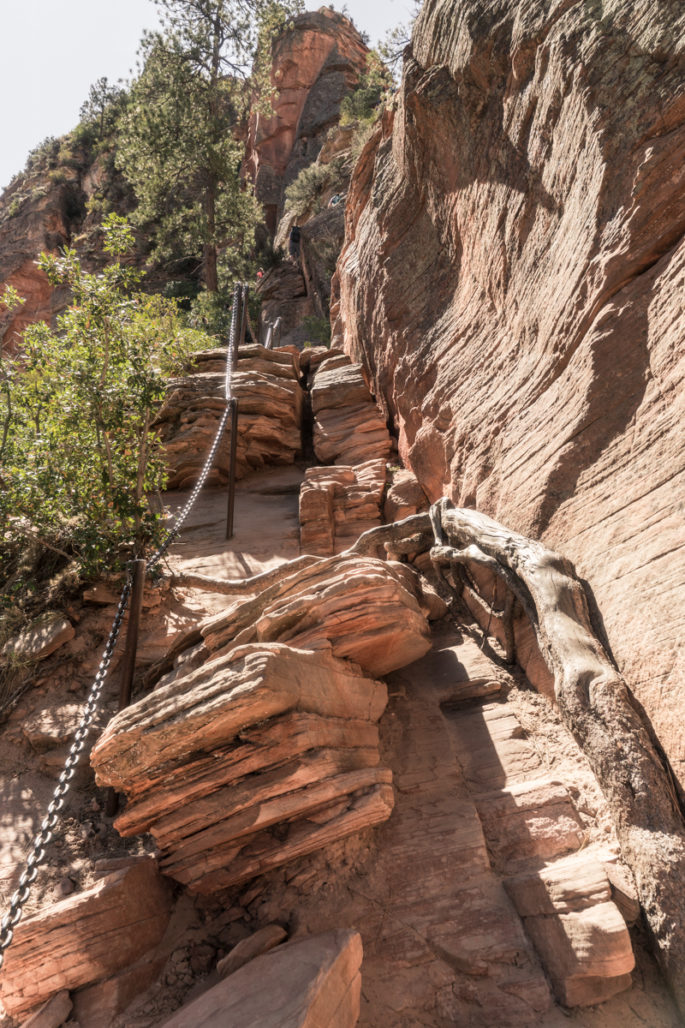
Don’t push yourself. Be smart.
You don’t have to prove anything to anyone on this hike. Leave your ego at home! There’s a time and a place to stretch yourself out of your comfort zone, but there’s also a place to be honest about your abilities. It’s up to you to be able to tell the difference.
Before you get too far up the ascent, don’t forget that what goes up must come down. Most people agree that going down is scarier than going up. Make a note of the descent and decide if you’re up for it before you keep going. Remember that once you ascend, you’re committed!
If you’re deathly afraid of heights or you’re truly uncomfortable with the terrain, don’t be shy about turning around. It’s ok.
To avoid crowds, start early.
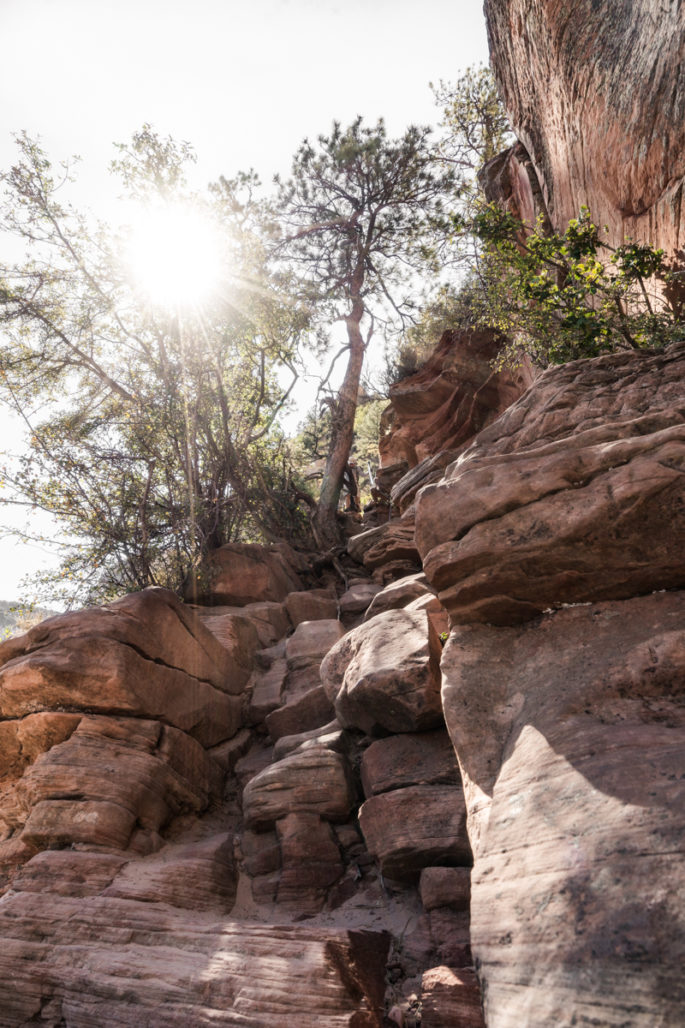
Personally, I prefer to minimize the number of hikers I’m sharing the trail with. On popular hikes like this, you’re never going to achieve solitude, but starting off bright and early can definitely help cut the crowds. Starting at 7 or 8 in the morning usually does the trick.
Another advantage of starting early is the gorgeous light! When the sun is at a lower angle, it creates beautiful shadows on the canyon walls that disappear by mid-day.
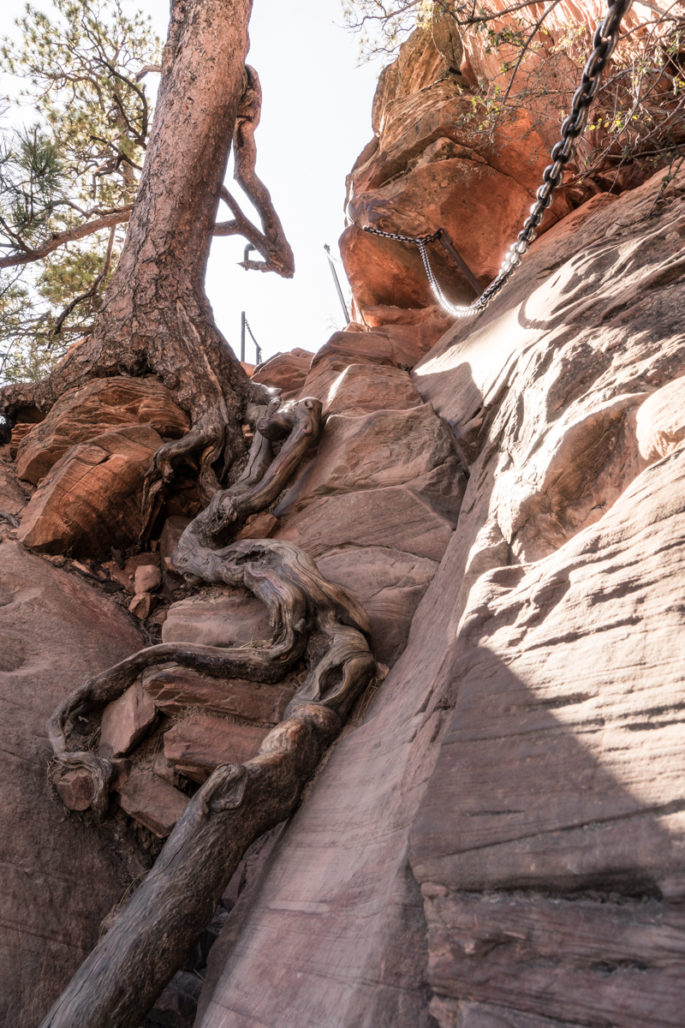
Consider gloves.
You’ll definitely use your hands on this hike. Sometimes you’ll be holding onto thick chains or scrambling up steep sections or using your hands to lower yourself down an awkward section. It’s easy to scrape your knuckles or your palms on the rough sandstone. The metal chains are also very cold in the winter. If you have tender hands, consider packing gloves. You can always stash them away if you decide you don’t need them, but having the extra protection might save you the distraction of scuffed up hands.
Be patient and yield when needed.
The ascent isn’t a race. For that matter, neither is the descent. You’re probably not going to set any PRs and you don’t need to have a blazing hike time. Again, leave your ego at home. Take as much time as you need and give others the time they need, too.
Don’t hesitate to yield the right of way to other hikers where it makes sense. Because of the unusual terrain, the normal rules of yielding to ascending hikers may or may not make sense; you’ll need to use your judgment. There are plenty of spots to “pull over” and make space for hikers going the other way to pass you, but there are also awkward sections where getting around each other is difficult.
Before you barrel through a narrow section, check the path ahead. If there are other hikers around, be sure both parties are clear on who’s yielding.
Be kind.
Since this hike is a bit nerve-wracking, sometimes hikers can be a little bit on edge. Be polite and gracious to other hikers. The tight spaces and popularity of this hike mean you’ll have to be mindful of those around you, but a good mood will go a long way to keep the energy of the trail in a good place.


My husband and I did this last year and it was amazing! We literally stood at the lookout for 20 minutes contemplating whether or not we were going to finish lol. I agree with you about being patient. This hike is not the place to race. We saw people in crocs and I am still amazed at how some people don’t appreciate how dangerous nature can be. This hike inspired us to climb half dome as well which was equally as good :)
I completely agree–considering how unprepared some people I saw were, it’s a wonder more accidents don’t happen! Glad you guys made it to the top!
And jealous you got to do Half Dome, I bet it was amazing.
Was fortunate to get this done last week! I agree with all you stated, with the addition of making sure you have lots of water (which I know is a basic need when out hiking, but you wouldn’t believe the number of people we saw coming up the trail as we were leaving at 2pm without water or backpacks). It was worth the mental and physical challenge.
Same! It was 80-something degrees when we were up there and it looked like there were a lot of people with no packs at all. Crazy. Sounds like a recipe for a bad time to me. Glad you had a good time!
What beautiful photos!
Thanks Kate!! :)
Can you tell me a little about your editing process? Very basics, please. Software used would be a good start. I’ve always believed good technique is the start but there is so much you can do in the digital age.
Of course! I still have a LOT to learn (both photography itself and the editing piece) and I am still experimenting a lot with a style that I’m comfortable with, so take this with a grain of salt!
I do all of my editing in Adobe Lightroom–I pay for their Creative Cloud subscription which is worth every penny for me. I do all my edits from scratch, I don’t use presets. (That said, Lightroom has a handy tool for copying and pasting edits from one photo to the next, which I use to save time for photos shot in the same conditions.) Most of my edits involve adjusting color balance, like the warmth of the photo or adjusting the hues and saturation of specific colors (adjusting the oranges/reds was big for this photo set, for example, since they could get a bit out of wack in the light). I also do some light adjustments, like playing with contrast, highlights, and shadows. I also almost always adjust the “clarity”, which basically brings out detail in the photo. Lightroom is extremely powerful and flexible software, so I mostly just play around with settings until I get something I’m more or less happy with. :)
To be more concrete (and if you’re curious!), here are two examples of before/after edits from this post:
https://agentathletica.com/wp-content/uploads/2017/10/Screen-Shot-2017-11-01-at-8.21.55-PM.png
https://agentathletica.com/wp-content/uploads/2017/10/Screen-Shot-2017-11-01-at-8.22.48-PM.png
Beautiful! and such amazing weather and views!!
It was! Pictures never quite do it justice.
Thanks, I enjoyed reading it. Helped explain some to me. A little scared about doing this hike with my daughter not in the best shape, and very short, and older. But I think I could go as far as I can and turned back around now that I know that I can. And it is an option. Thank you