The weather is warming up and it’s the perfect time to get out into the sunshine! Hiking is a great way to switch up your fitness routine. Getting outside and soaking up the sun is one of my favorite ways of escaping the “real world” for a little while–it’s not only good for your physical health, it’s good for your mental wellbeing, too.
One of the easiest and least scary ways to get your feet wet with the hiking hobby is to find somebody who knows a little bit more than you and go with them. Or, find a local hiking group and see if you can join them for an outing. Of course, that’s not always an option, so I rounded up the essentials in this post so you can hit the trail with confidence, even if you’re brand new.
Know the lingo
Like many hobbies, hiking has its own language. Although most of the terms are pretty simple, here are a few definitions to demystify what you might see:
1 | Trailhead. The start of the trail.
2 | Dayhike. A hike that you start and finish all in one day, as opposed to a longer, overnight trip where you camp.
3 | Out and back. A trail where you hike to a dead end and simply turn around and come back the same way you came. (The alternative to this is a loop trail.)
4 | Elevation gain. The amount of uphill ground the trail will cover. You might also see “elevation change”.
5 | Elevation profile. An incredibly useful graph showing the terrain of the trail. This will show if the trail is steadily uphill, up and down, sharply uphill in one area only, etc.
6 | Switchbacks. A part of the trail that zig zags back and forth to get you up or down. Here is an example of some switchbacks in Zion National Park.
Choosing the right hike
If you want your hike to be a positive experience that you want to repeat, choosing the right trail is crucial!!
If you’re new to hiking, I recommend choosing an easy trail first and slowly working your way up from there. To better define “easy”, I would look for a trail under 3 miles with no more than 300 ft of elevation gain. Keep in mind that elevation gain is a huge factor. Even a 5-mile hike can be very challenging if it’s very steep. Even if you’re really fit and a short hike isn’t very physically challenging for you, it’s important to get comfortable with being outside and hiking in and of itself.
When choosing a trail, it’s very important to pay close attention to what the distance is referring to. For loop trails, the distance is pretty unambiguous. But for out-and-back trails, be sure it’s clear whether the distance listed refers to one way or a round trip. Needless to say, the difference between 4 miles total and 4 miles each way is pretty huge.
As for finding an actual trail to check out in your area, Google is always a good first pass. If you want more personal guidance about trails in your particular area, local outdoors stores are usually a great resource for advice and tips on the best local trails.
Once you get comfortable on the easy hikes, gradually increase your distance and/or elevation gain. Key word: gradual! If you’re comfortable on a flat 3-mile hike, don’t jump up to an 8-mile hike with 2000 feet of elevation gain.

What to bring
1 | Water. Water is extra, extra important!!! It’s hard to say exactly how much you should bring since your water needs will vary drastically depending on all kinds of factors, like temperature, humidity, length and difficulty of the hike, your personal drinking habits, etc. Pretty much no matter what, I always bring at least 2 bottles of water (around 16 oz each). Sure, this is probably overkill in some situations, but you never want to underestimate your water needs.
2 | Snacks or a meal. Bars like Clif bars or Larabars are always an incredibly convenient option. Trail mix is also handy–hence the name!! :) I’ll also often pack fruit like an apple or an orange. I don’t suggest packing bananas or other squishy fruit, by the way, because they can get smashed get all over the inside of your bag. The banana smells takes ages to go away. Instead of just going with snacks, you can go for a whole lunch instead. Even if your hike is short, time it over your lunch so you can take a break at a nice spot and eat. It’s a great way to break up a hike and enjoy the scenery a little longer.
3 | Basic first aid. I keep a small portable pill case with some pain relievers and an anti-diarrheal. Both are super-useful if you need them, for obvious reasons. I always have a couple band-aids, too. If you want to be a little bit more cautious, you can pick up a pre-made kit from an outdoors store, like this one from REI. If you’re going on a short, easy hike that’s nearby and not in the wilderness, you don’t really need to go crazy with the first aid.
4 | Good company. If you can, bring a friend! Even if they’re just as new to hiking as you are, hiking with a buddy is usually more fun, not to mention a little safer. If you choose to fly solo, I suggest letting someone know where you’re going and checking back in when you return safely.

What to wear
If you’re just starting out, you don’t need to go out and buy a fancy backpack or hiking shoes if you don’t already have them. Chances are, you already have plenty of workout clothes and fitness shoes if you’re reading this blog, so you’re already set! Even for super-long hiking days, I almost always wear my usual workout clothes and shoes. I don’t even own any “hiking” clothes. Also, since my shoes always get dirty when I’m out hiking, I always wear an older pair that’s already dirty. Plus, older pairs are broken in, which means they’ll be comfortable for long distances.
You’ll want to bring some kind of bag with you to stow all the stuff from the section above. A backpack will obviously work (even if it’s not specifically a hiking backpack), or just a simple string pack. Anything that will fit the goods you need plus be comfortable to wear for a couple hours will work. If you decide you really like hiking and want to go on longer treks, then you can think about buying a more “legit” pack.
Note that sometimes backpacks or other bags can rub against tops and cause them to pill. If you’re not sure if your pack situation will pill your clothes, just choose a top you’re not as attached to.
Also: don’t forget to wear sunscreen and a hat or sunglasses!
On the trail: best practices and etiquette
When you arrive at the trailhead (look, you’re using hiking words already!), be sure to take a look at the map and orient yourself. Always know where you are and where you’re going! It can be handy to take a photo of the map with your phone. Even if you don’t have reception or your phone is in airplane mode, you can still refer back to the photo if you need it.
Most trails will have some kind of marking to keep you on the trail. The kind of marking can vary depending on the surroundings. Some common ones are rock cairns (i.e., organized piles of rocks) or patches of paint on trees or rocks. For particularly well-worn or paved trails, sometimes markings aren’t necessary, so you might not always see them. There is often information at the trailhead (or online) that tells you how the trail is marked.
On that note, it’s important that you stay on the trail, because if you don’t, you’re damaging both plants and other lifeforms that you might not be able to see. Remember that you are a guest in nature’s living room, so be respectful of what’s around you.
If you’re passing other hikers on a narrow portion of the trail, conventional wisdom is for downhill hikers to yield to uphill hikers. That said, when I’m going uphill, I usually choose to step aside for downhill hikers simply because I just want a moment to catch my breath. In other words, it’s not a rule you have to follow no matter what, and you can always choose to give someone else the right of way. On the flipside, if you’re going downhill, don’t assume those going up will feel the same, so you should give them an opportunity to pass.
If you’re hiking in a group, be sure your group isn’t taking up too much space on the trail if there are others around you. Watch for other groups coming the other way and walk single file when others are passing. Be aware of hikers that may be behind you, too. It’s really frustrating to get stuck behind a pack of slow hikers barricading the trail, so if you’re in a big group and/or a tight space, make sure you check that you’re not in someone’s way. Also: if there happens to be someone on horseback sharing the trail, always yield to horses.
“Leave no trace” and “pack it in, pack it out” are both common hiking mottos. This means that anything you bring with you on the hike comes with you when you leave. Obviously, please don’t leave trash. In addition, you might be surprised to know that you also shouldn’t leave food scraps like banana peels, since this can cause problems with wildlife in the area.
If a trail ends up being more challenging than you bargained for, don’t feel bad about turning around. In fact, I’d actually encourage you to turn around! You don’t want the hike to be a bad experience, or worse, don’t want to get in a bind and have to call in help.

Practice, practice
Although these are all good things to keep in mind when you’re preparing, there’s no substitute for just getting outside and doing it! You’ll quickly become more comfortable with being outside and be ready to take on bigger adventures!
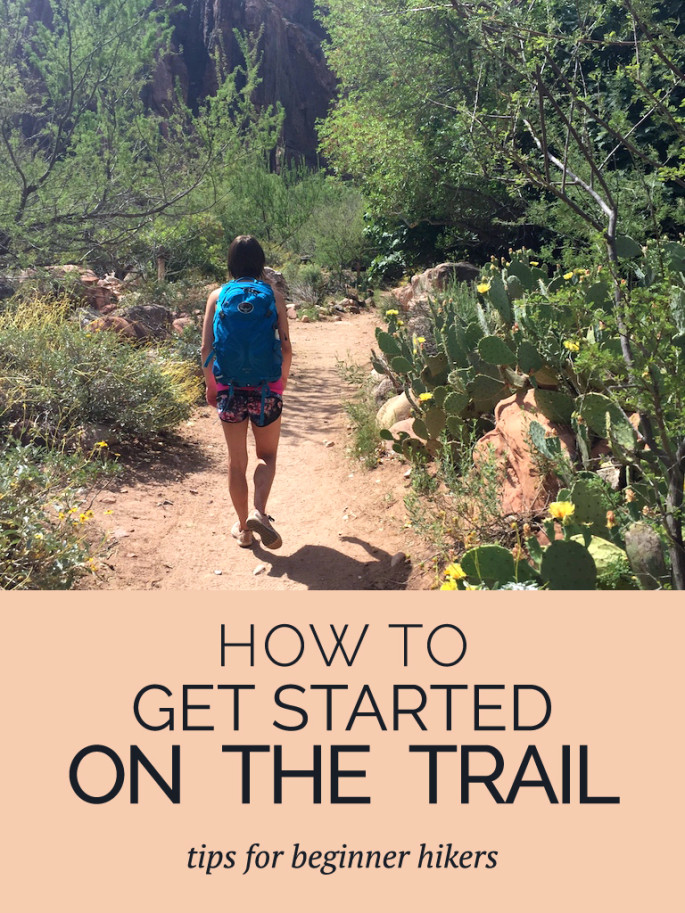
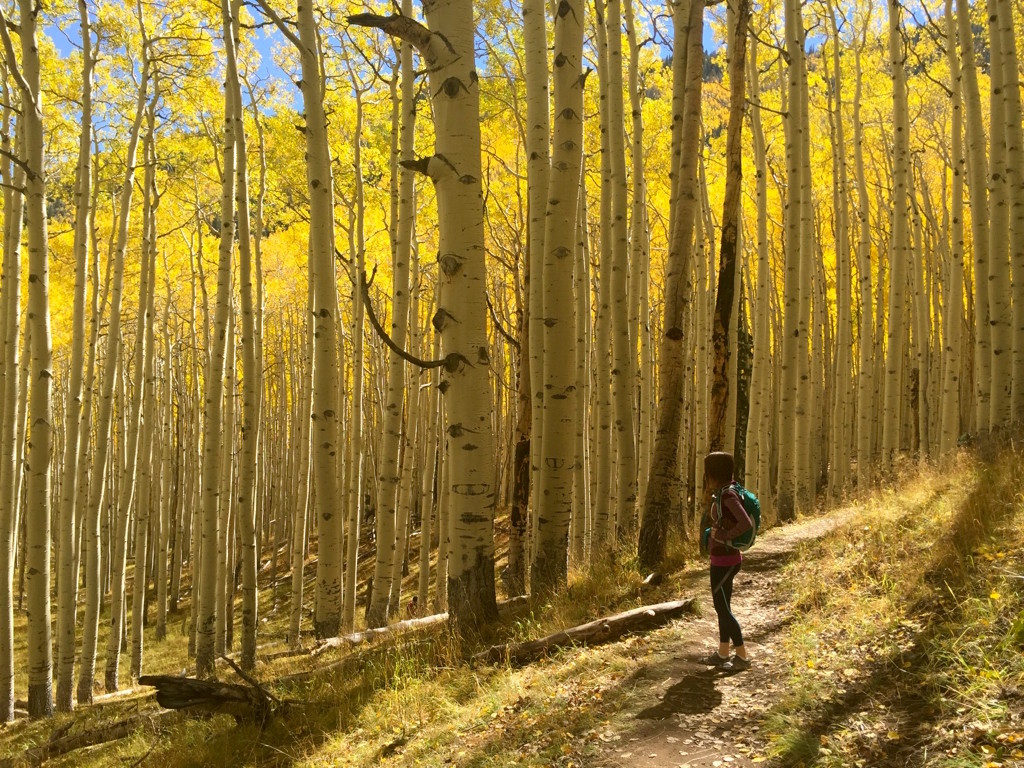
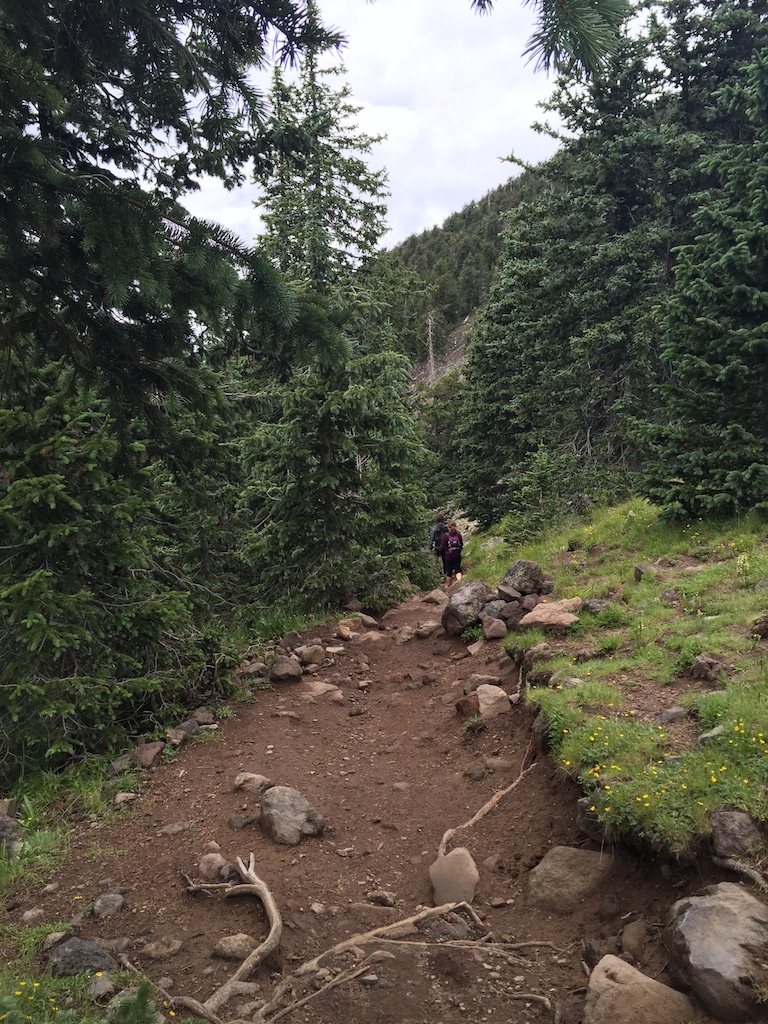
P.S. Pics: Bright Angel Trail, Grand Canyon, AZ (header) | Inner Basin Trail, Flagstaff, AZ | Humphrey’s Trail, Flagstaff, AZ | Hidden Canyon Trail, Zion National Park, UT


Love this! :) Where was that last photo taken?
I’m planning some westward travels of my own right now and I’m trying to figure out which Utah national park to go to!!
It’s in Zion NP, which just happens to be in Utah. :) (Went back and added quick notes on the pics thanks to your comment.) I *highly* recommend Zion. It’s fantastic. That said, I haven’t seen much else of Utah so I can’t say for sure. If you go, take me with you!!! :P
only one?? bummer…I think zion might be the way to go. bryce Canyon and arches are great too.
angels landing trail in zion is awesome
Husband and I will be visiting St. John USVI this summer and I am dead set on us going on some trail hikes. None of the trails on the island are difficult, and some even reward you at the end with plantation ruins or “secret” beaches, so it’s a good place to start!
That sounds perfect! :)
I love this post too!
Although I was confused by your statement about etiquette regarding who has the right away.
From REI hiking etiquette:
“It seems that many hikers—even experienced ones—may not know or always remember this, but hikers going uphill have the right of way. This is because in general hikers heading up an incline have a smaller field of vision and may also be in that “hiking rhythm” zone and not in the mood to break their pace. Often an uphill hiker may let others come downhill while they take a breather, but remember that’s the uphill hiker’s call.”
That being said, maybe there are mixed views! I will now try to be less annoyed when hikers don’t know the yield to uphill rule in the future since my fave blogger has an opposite viewpoint. This is actually good for my recent resolution to always give others the benefit of the doubt and not be judgmental :)
Ack, you’re totally right. Thanks for pointing that out. :) I revised that section to make it a little more clear. I am definitely the total opposite of the REI suggestion, because when I’m going uphill I want every opportunity to catch my breath, but when I’m going down I don’t like to break my momentum.